Ouvrage de Soetrich is a large fort that forms part of the Maginot Line: the extensive system of elaborate defensive structures built in the 1930s to prevent a German invasion of France.
It is located near the town of Hettange-Grande, close to the France-Luxemberg border, on the north-east of France. It was part of the fortified sector of Thionville.
Ouvrages were forts which were specifically developed for the Maginot Line. They formed the backbone of the defensive line, as they were the sturdiest structures with the largest number of weapons and heaviest artillery.
An ouvrage is not your typical fort; it is an underground facility made up of blocks and sectors connected to each other by a network of tunnels, with combat and observation blocks and entrances emerging above the surface. Ouvrage de Soetrich was a gros ouvrage (GO) – a larger fort armed with artillery and infantry weapons.
Construction began in 1930 and it became operational in 1935. From then on, it was part of the system that provided the French a comforting – but illusory – sense of security.
Like many Maginot Line structures, Ouvrage de Soetrichit did not see much combat action. In June 1940, it was bombed by German forces, but this caused almost no damage. It was surrendered as part of the Armistice of June 22, 1940.
During the Cold War, Ouvrage de Soetrich and two neighboring forts were used by NATO as a command center. Now the structure is abandoned and unauthorized entry is prohibited.
Buckle in and prepare for a long ride full of surprises and amazing discoveries about this underground world – a world that is a testimony to the expensive and elaborate but ultimately useless work of French engineering wizardry.
Before we embark on our tour, we say a big thank you to technolirik for the photos and information! See more of his work here: technolirik
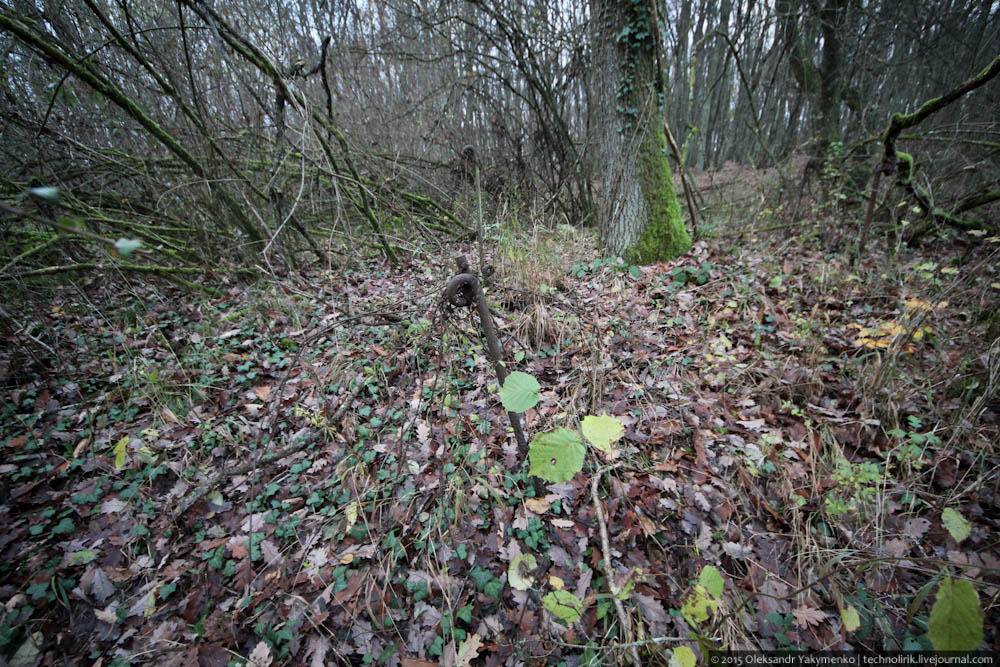
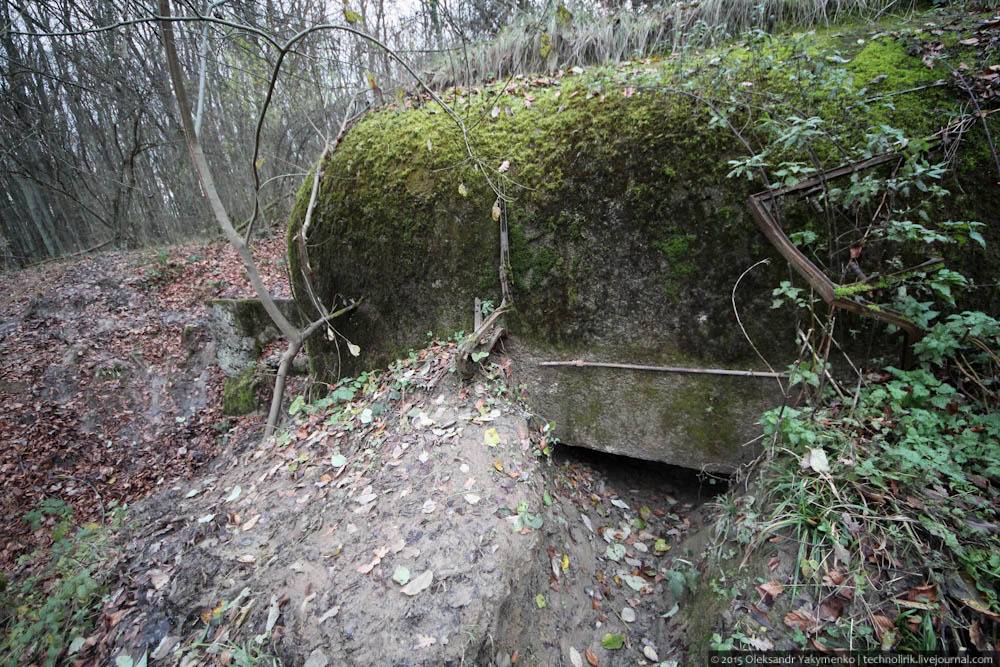
The fort is hidden in a dense forest. These sharp metal pegs shaped like pigs’ tails were used to hold up barbed wire, which was stretched between them. There are many such remains of infantry obstacles still scattered nearby in the forest:
All entrances were filled in the early 2000s, but eventually, diggers dug out one of the embrasures, which is now the only way to get into the facility. The entrance leads to one of the six combat blocks.
The structure of Ouvrage de Soetrich is typical of a Maginot Line GO. It had six combat blocks – three infantry and three artillery – and two entrances: a smaller one for personnel and a larger one for ammunition. These were connected to each other and other sectors – the living quarters, ammunition storage, command center, and other facilities – by a system of underground tunnels. The total garrison of the fort was 583 soldiers and 20 officers.
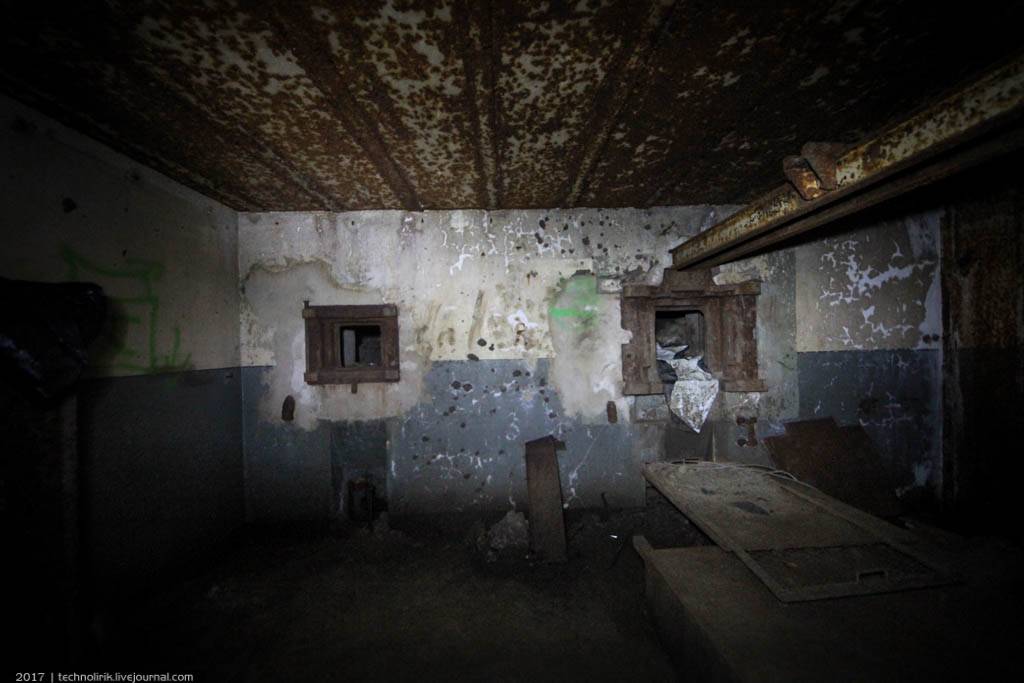
Inside the casemate of the combat block. The embrasure on the right was for a twin machine gun and a 47 mm anti-tank gun:
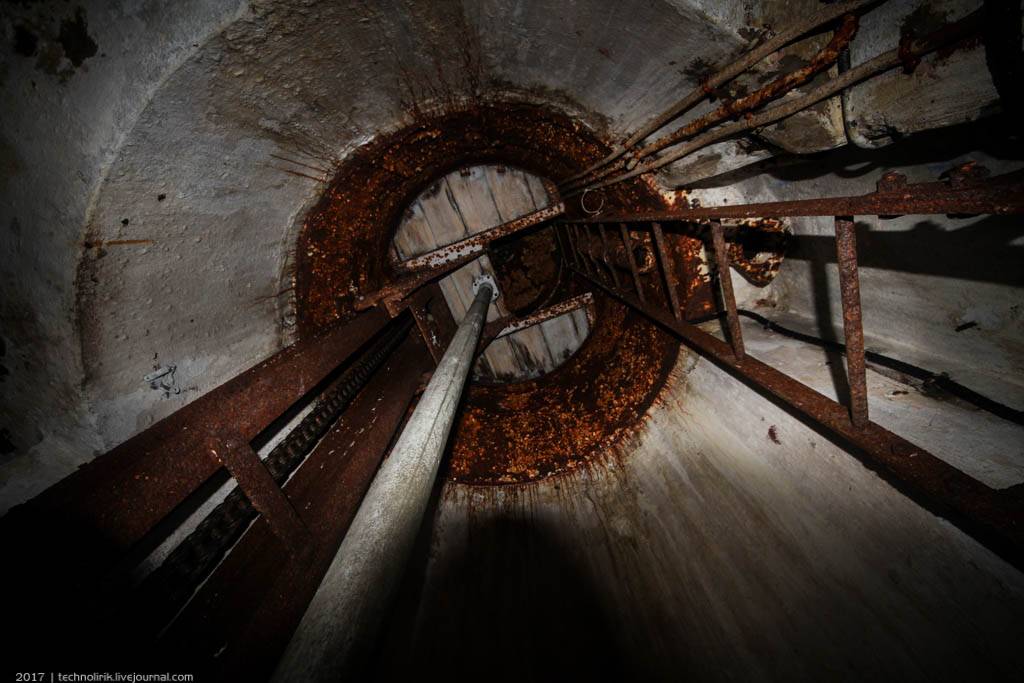
Looking up at the shaft of a GFM cloche – a dome-shaped armored structure for observation and machine-gun fire. There were two GFM cloches at the combat block.
There was also a casemate with two 81 mm mortars, which have been removed:
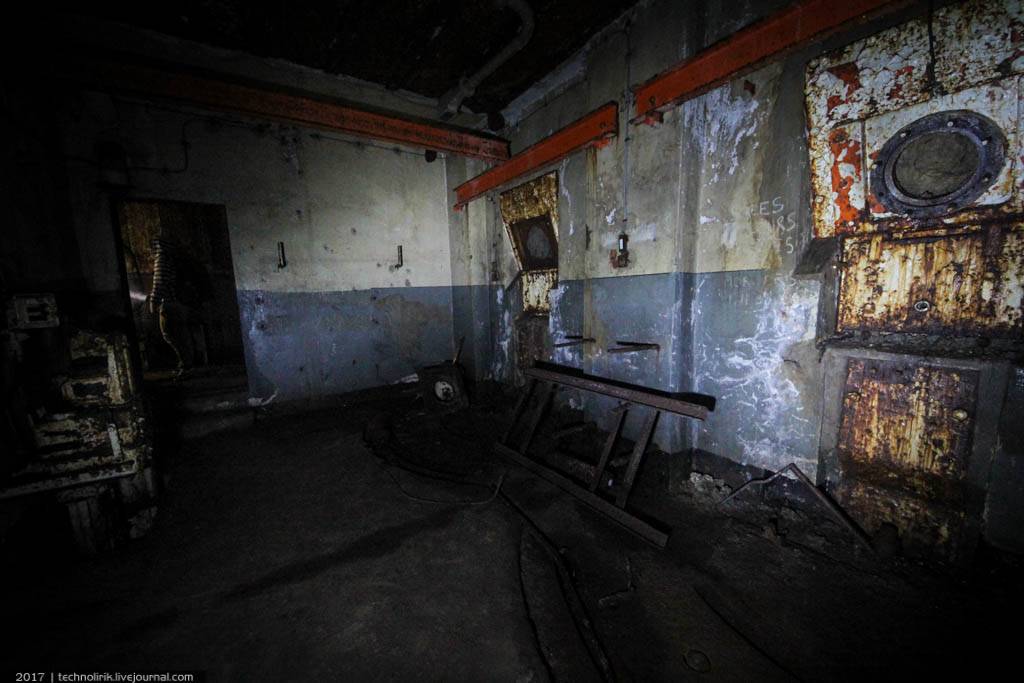
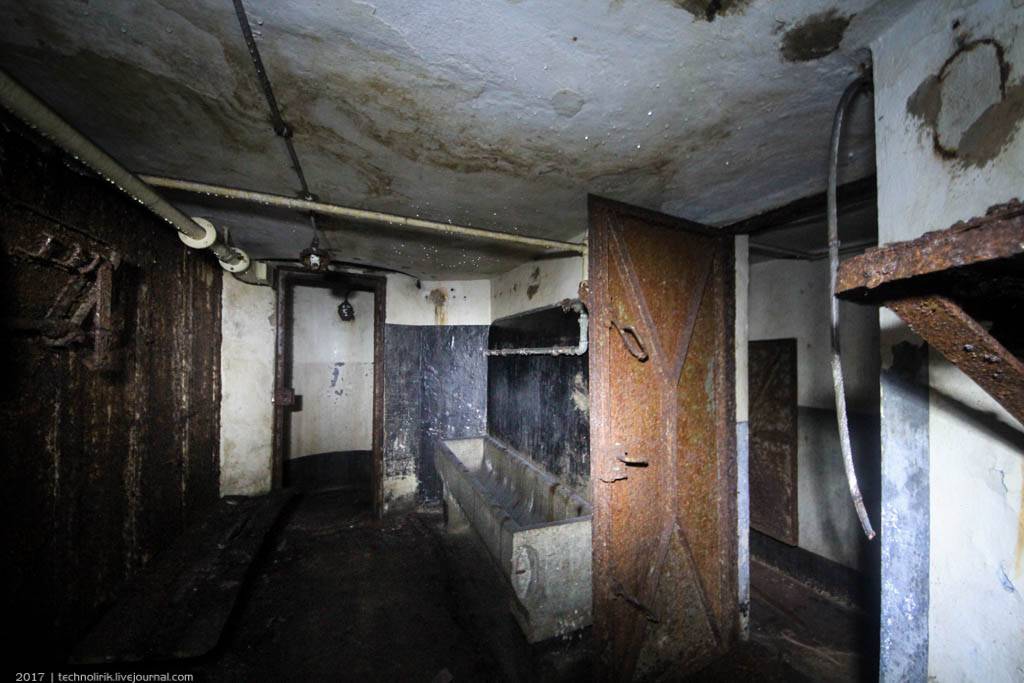
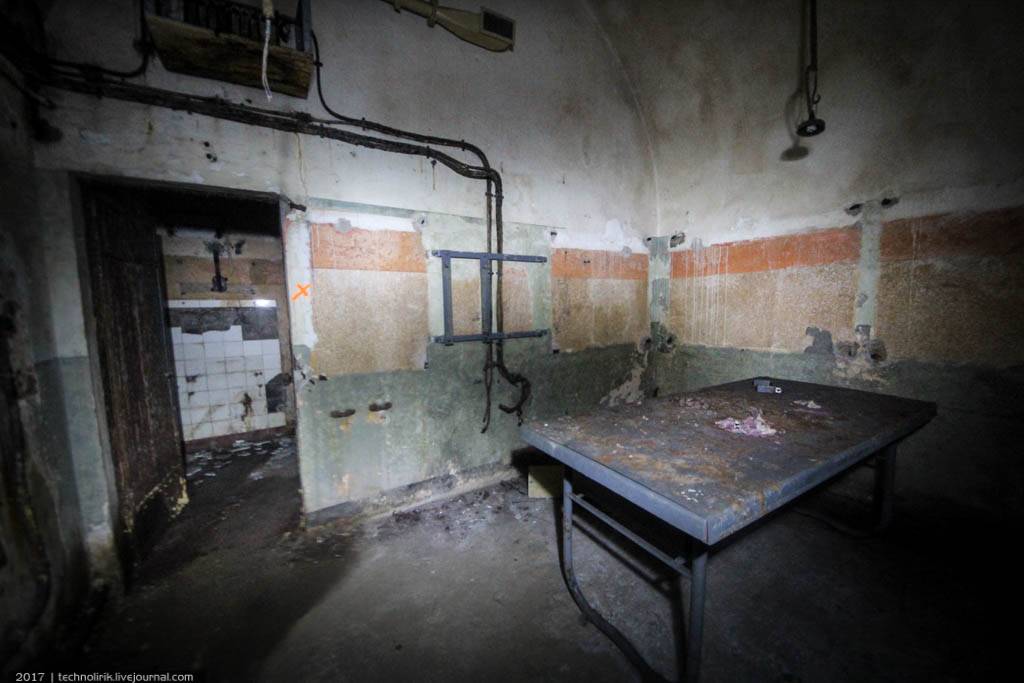
Across the wall from the mortar casemate is a room for the personnel on duty at the block:
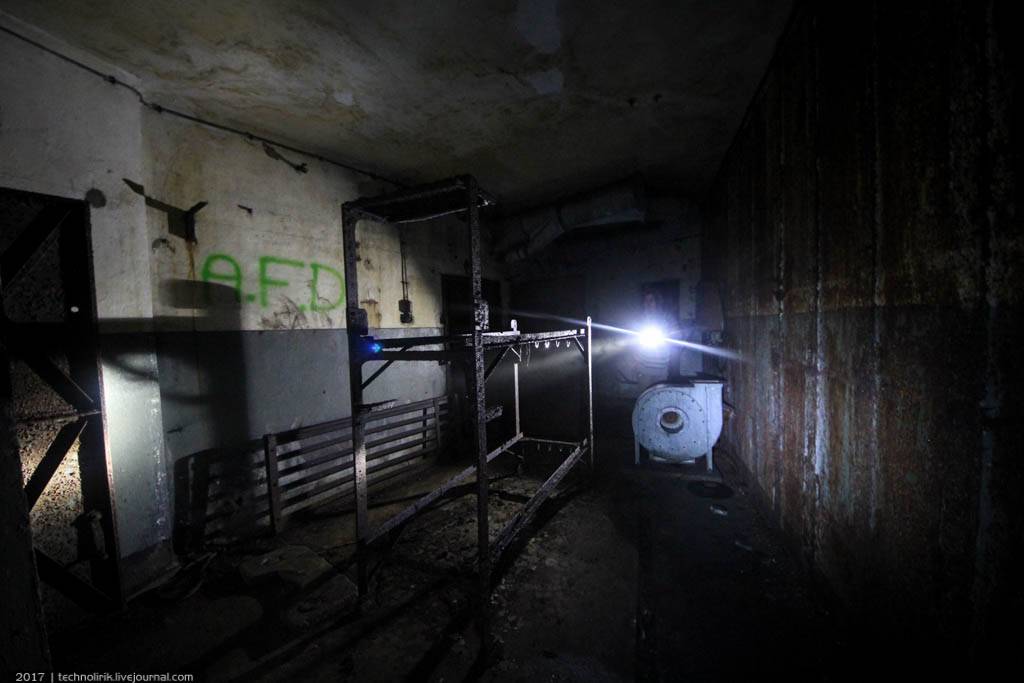
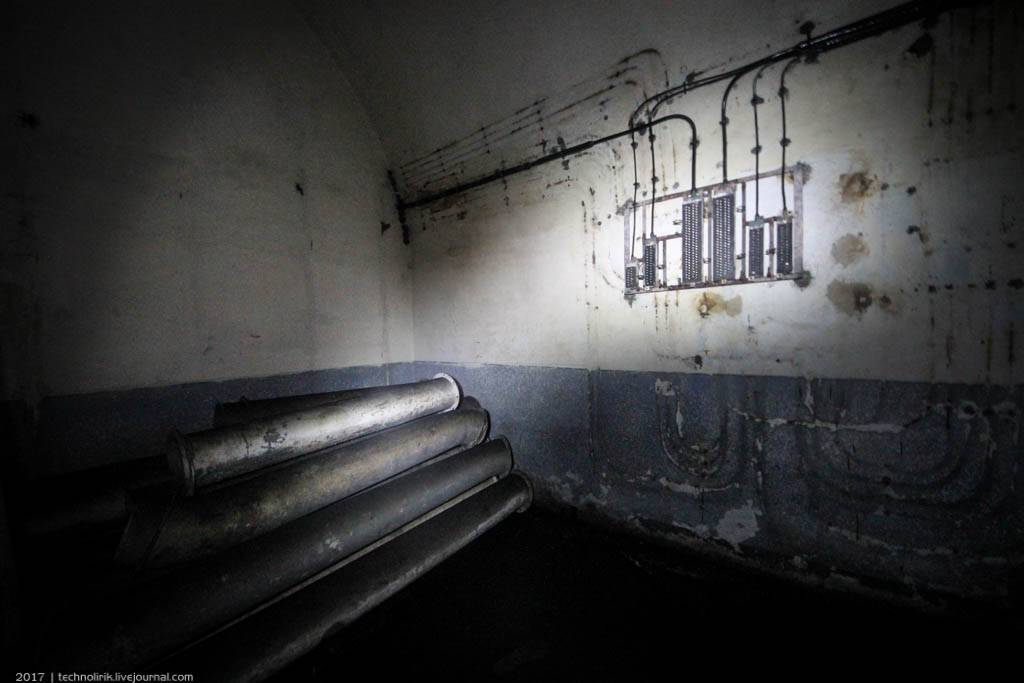
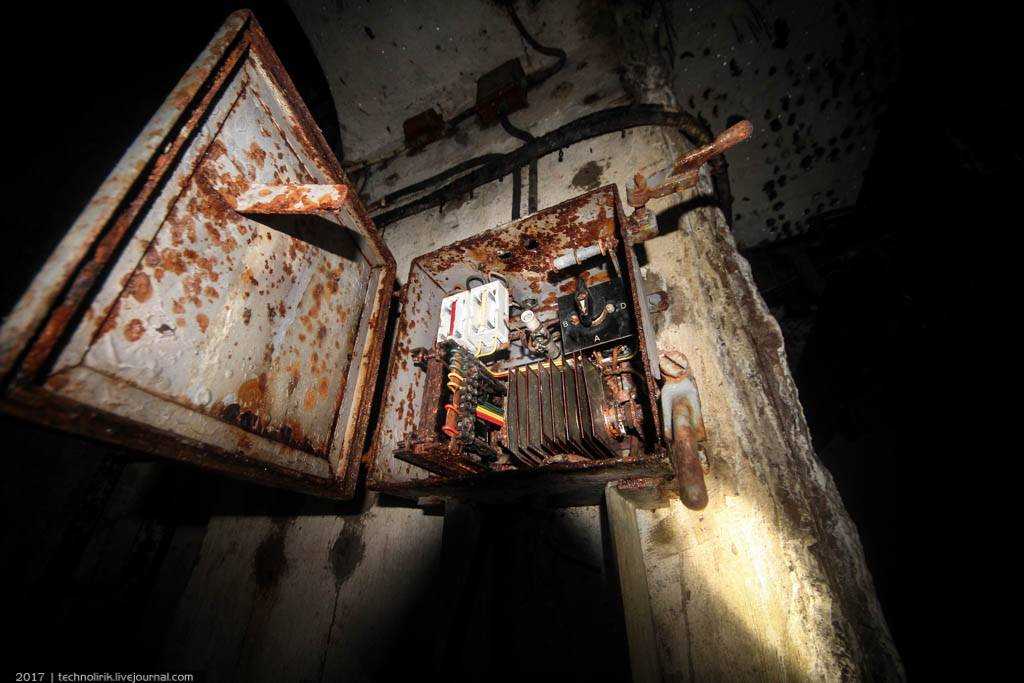
The ventilation drive in the room has been significantly damaged, but the electric switchboard is in good condition:
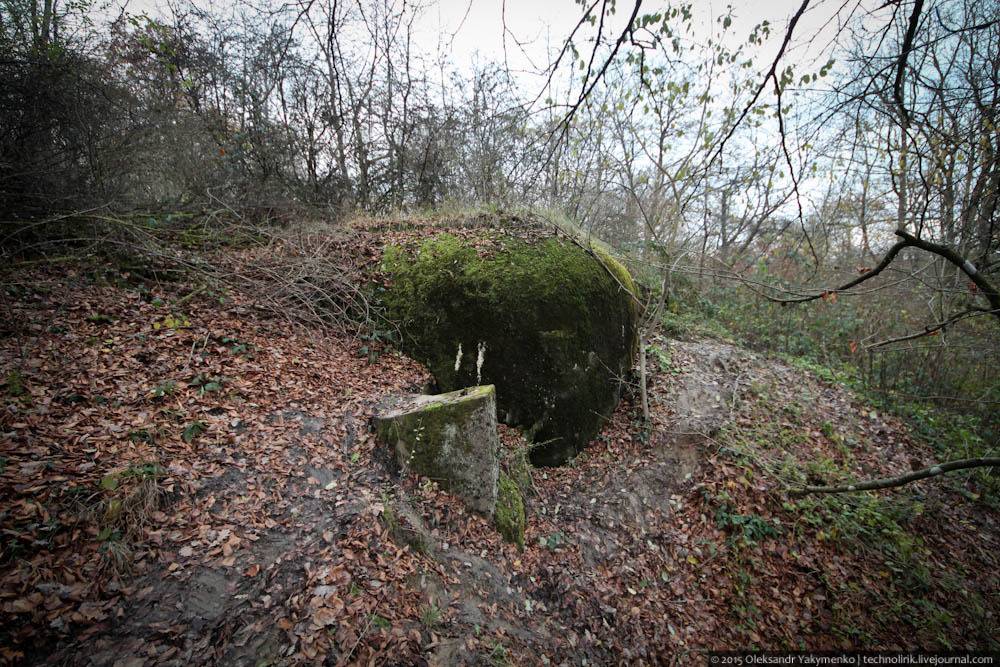
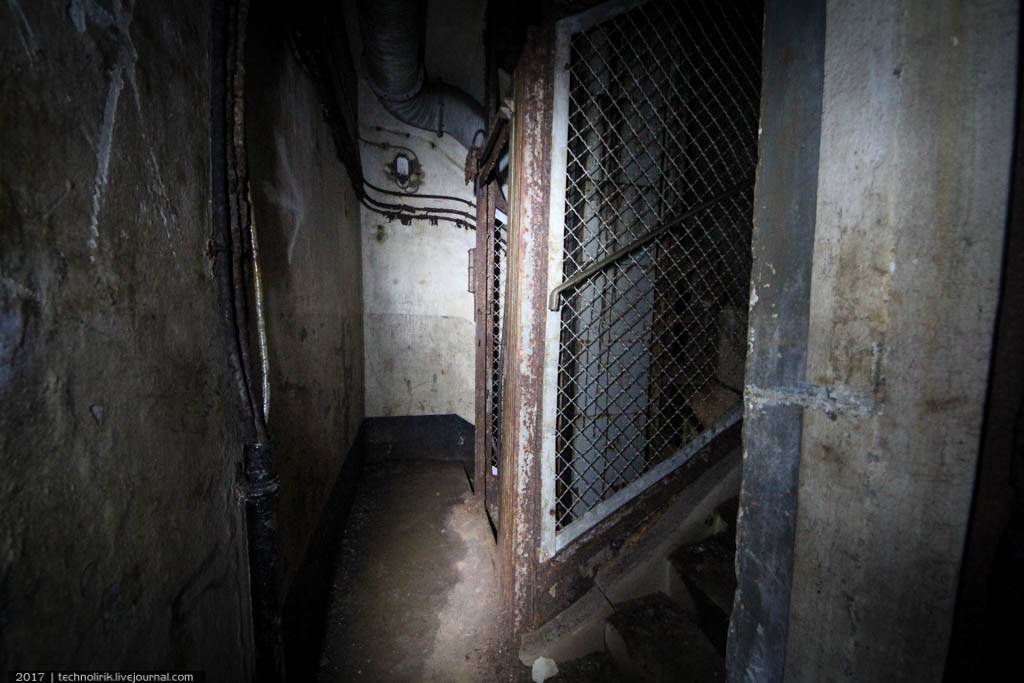
An emergency exit from the combat block to the diamond moat. It is the only one out of the six combat blocks to have the form of a blockhouse, so only here was it possible to construct an exit to the surface. At all other combat blocks of the fort, armored turrets and cloches were the only “window” to the surface.

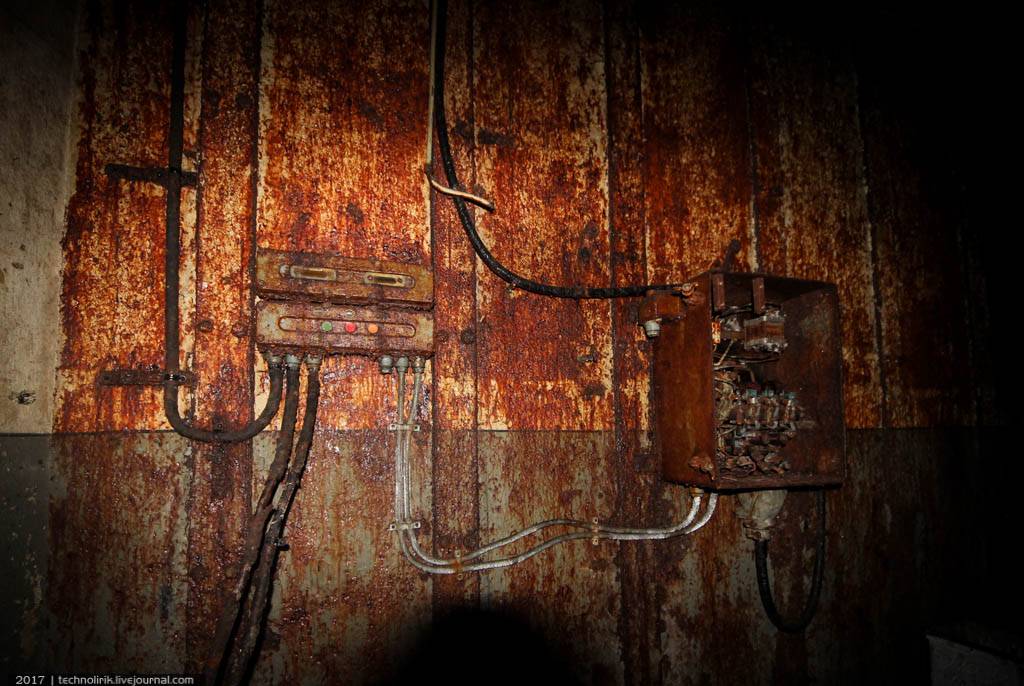
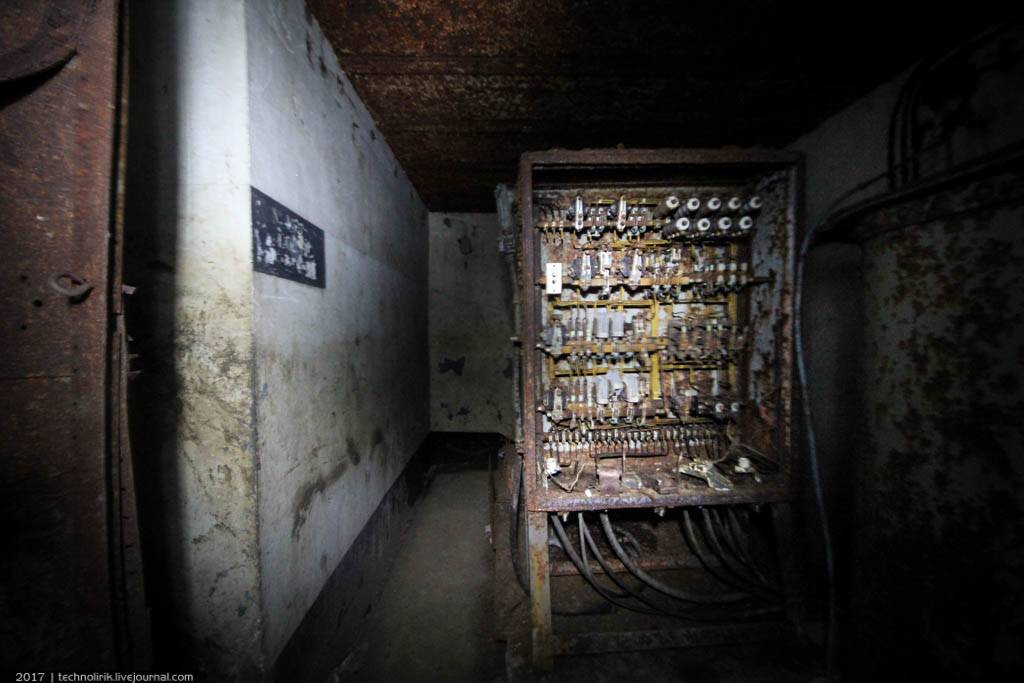
Electric switchboard of the elevator:
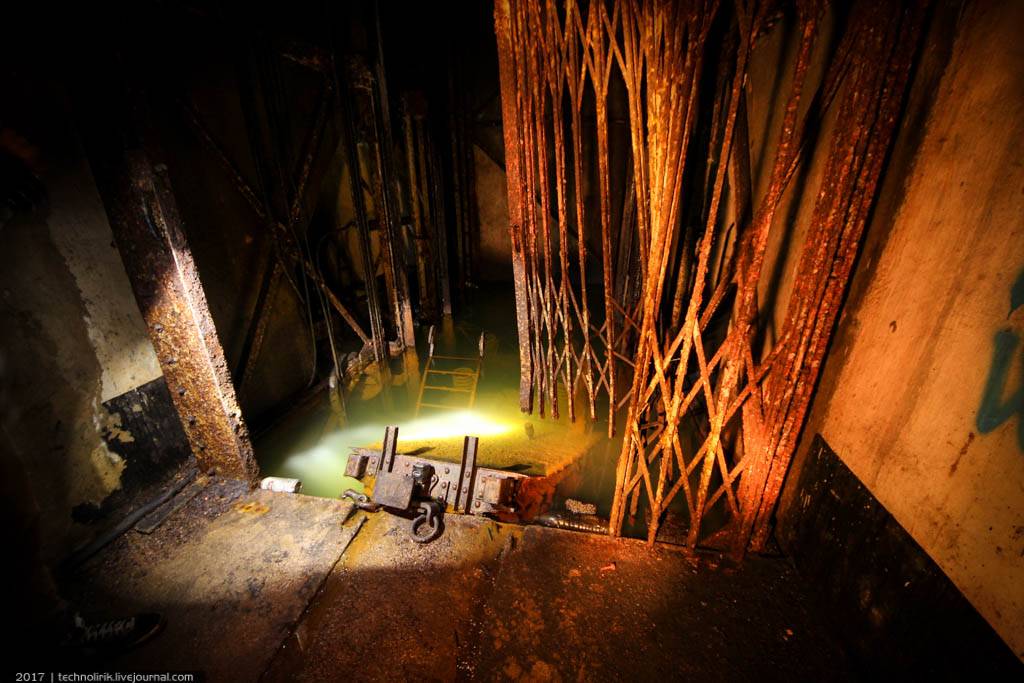
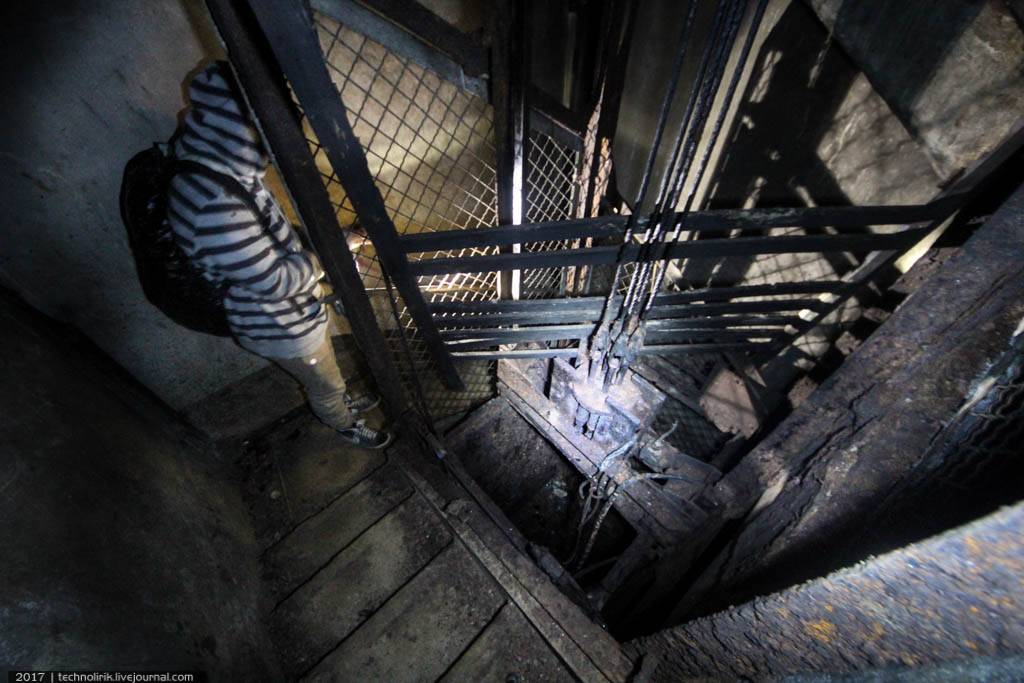
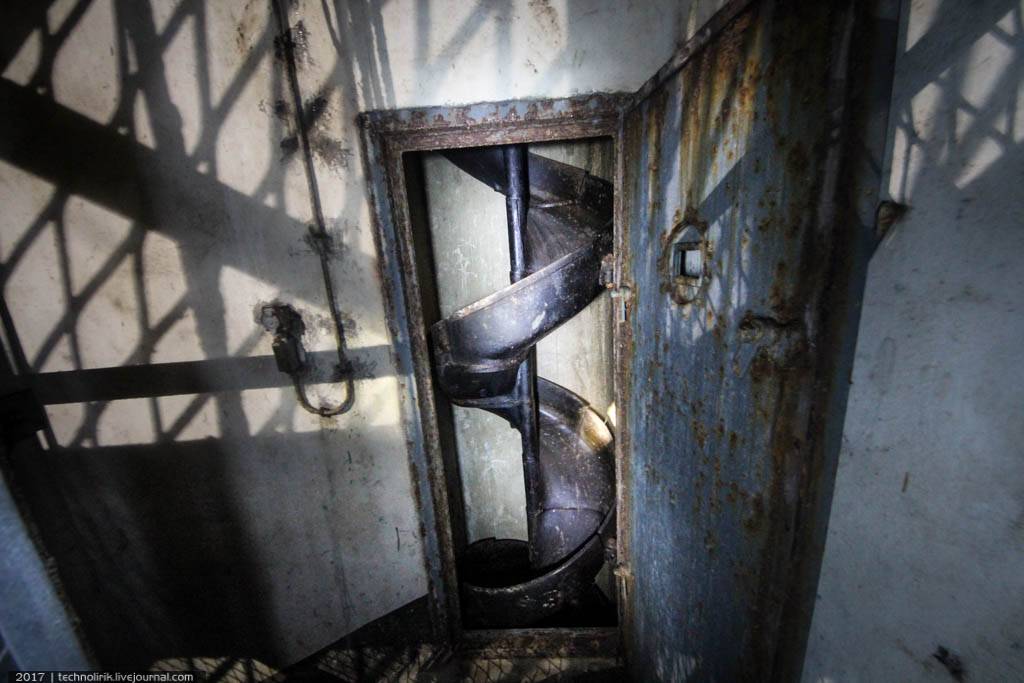
Descending to the lowest level via a staircase:
The lower part of the elevator that delivered ammunition to the mortar casemate:
Room of the head of the combat block:

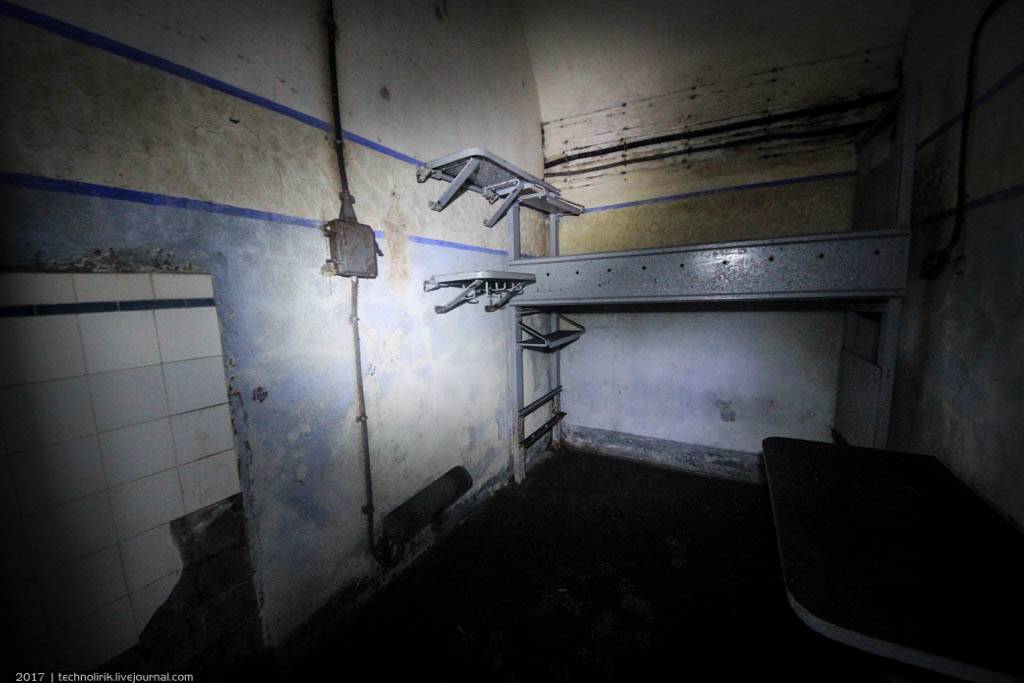
Room for soldiers. Rooms like this housed eight soldiers:
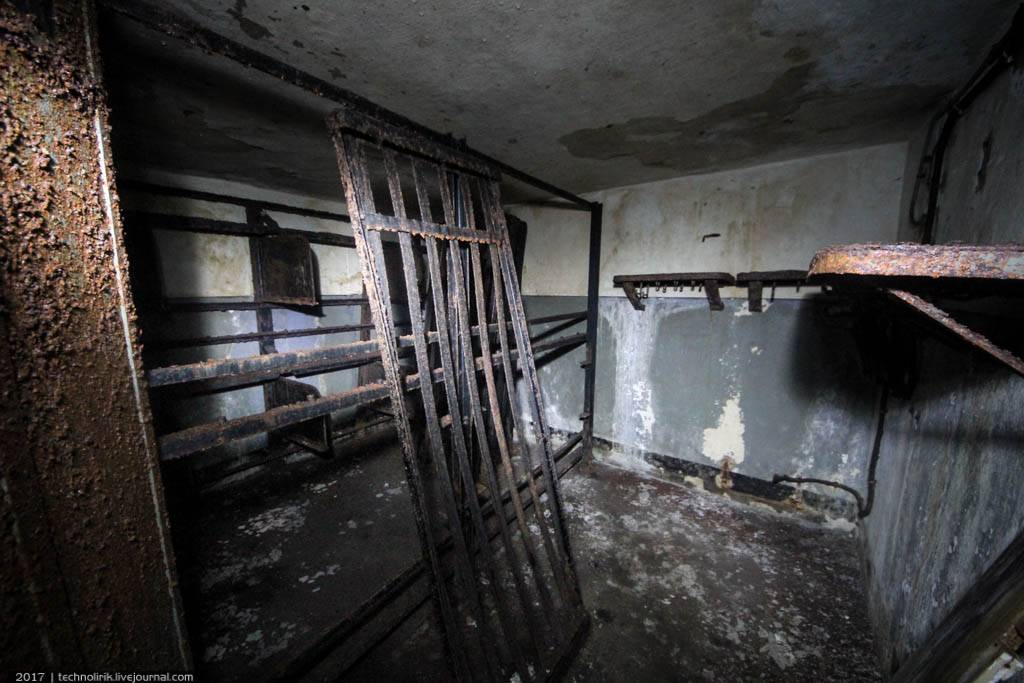
Soldiers’ washbasins:
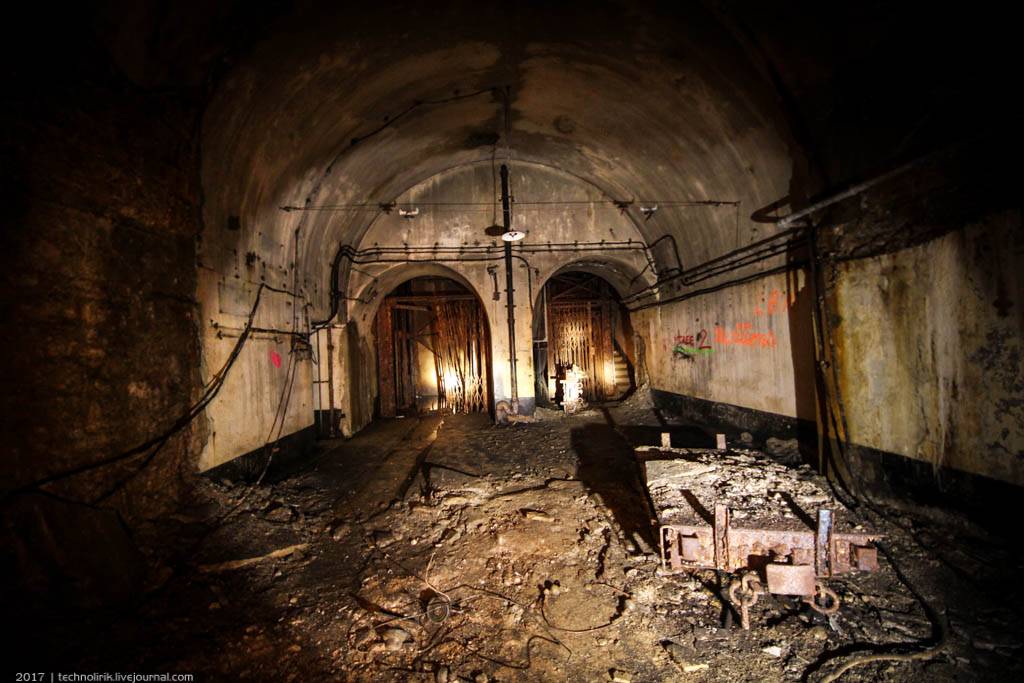
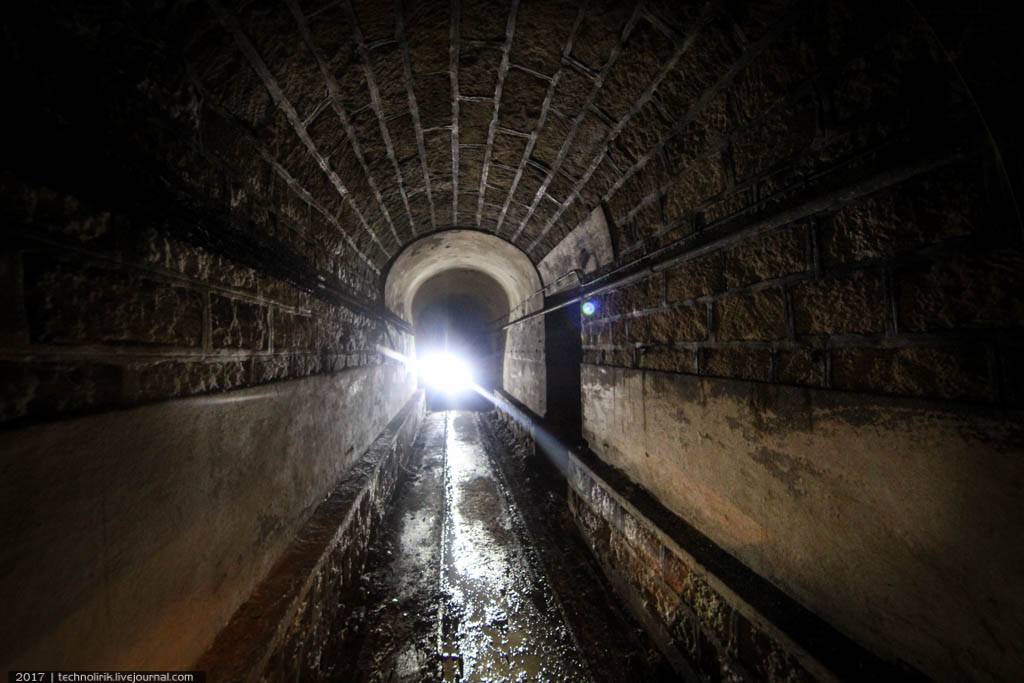
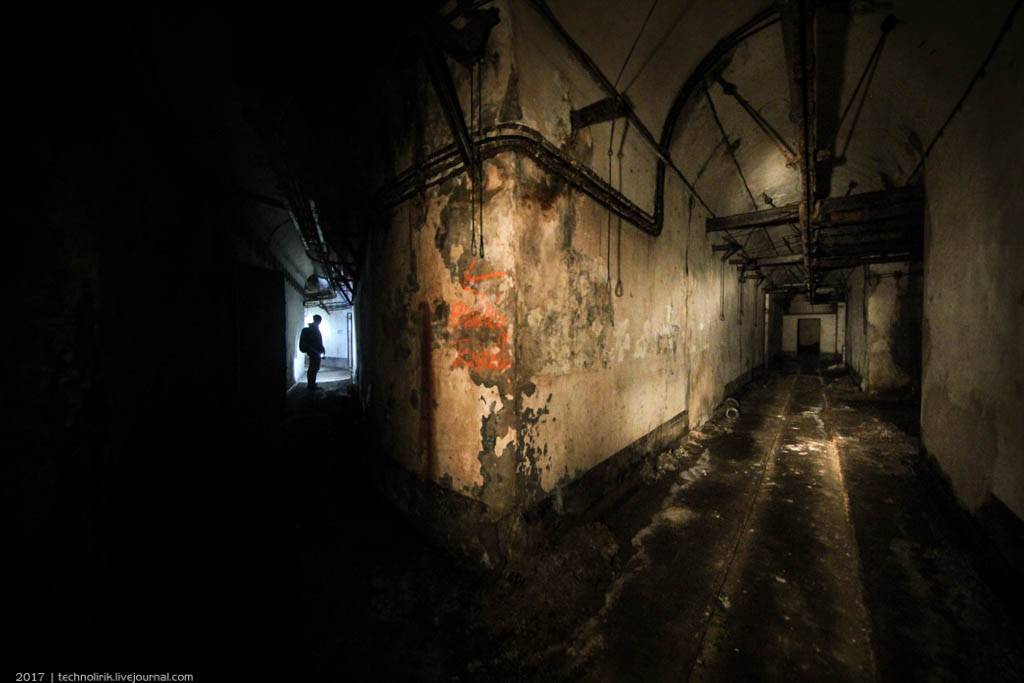
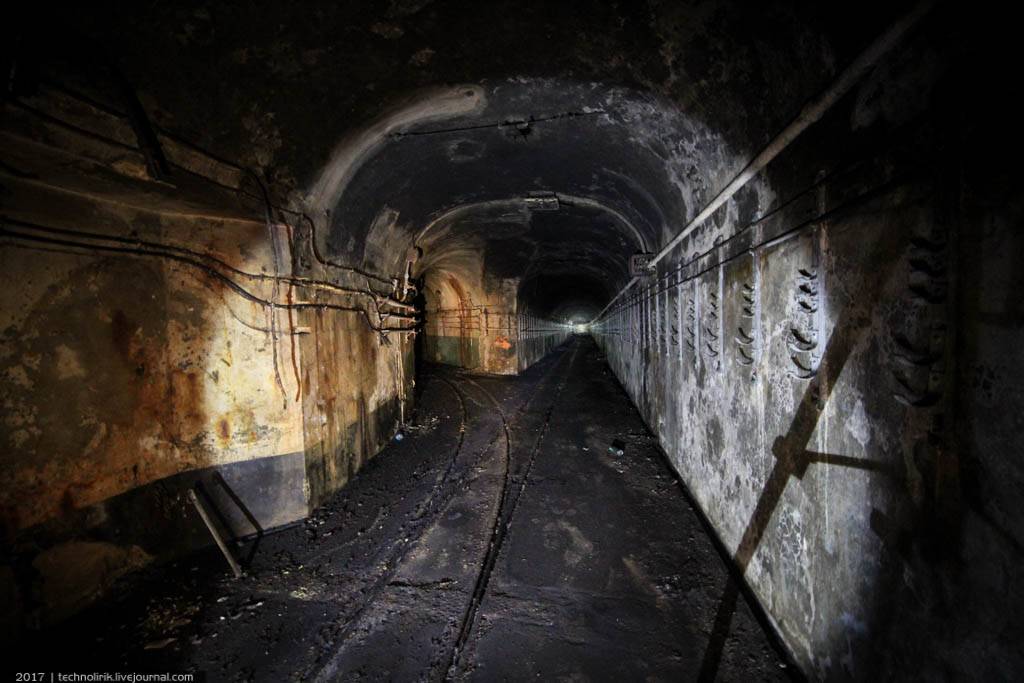
Descending from the lowest level to the system of underground tunnels that connect the different blocks and facilities:
The underground passageways connected all facilities of the fort. The tunnels were at an average depth of 100 feet, and the main passageway was 2,050 feet long.
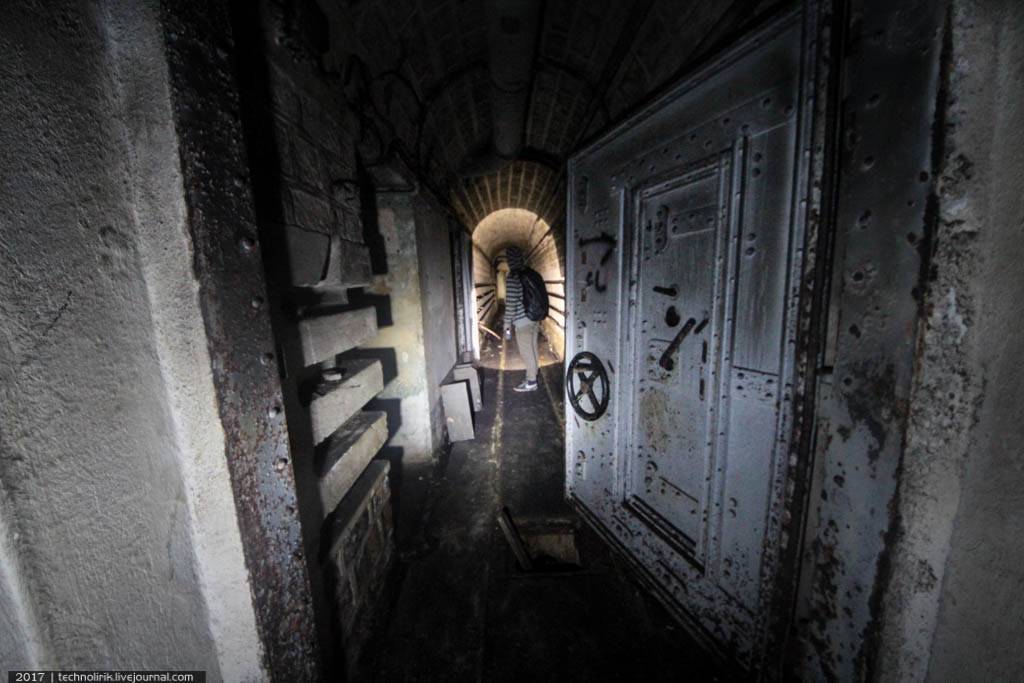
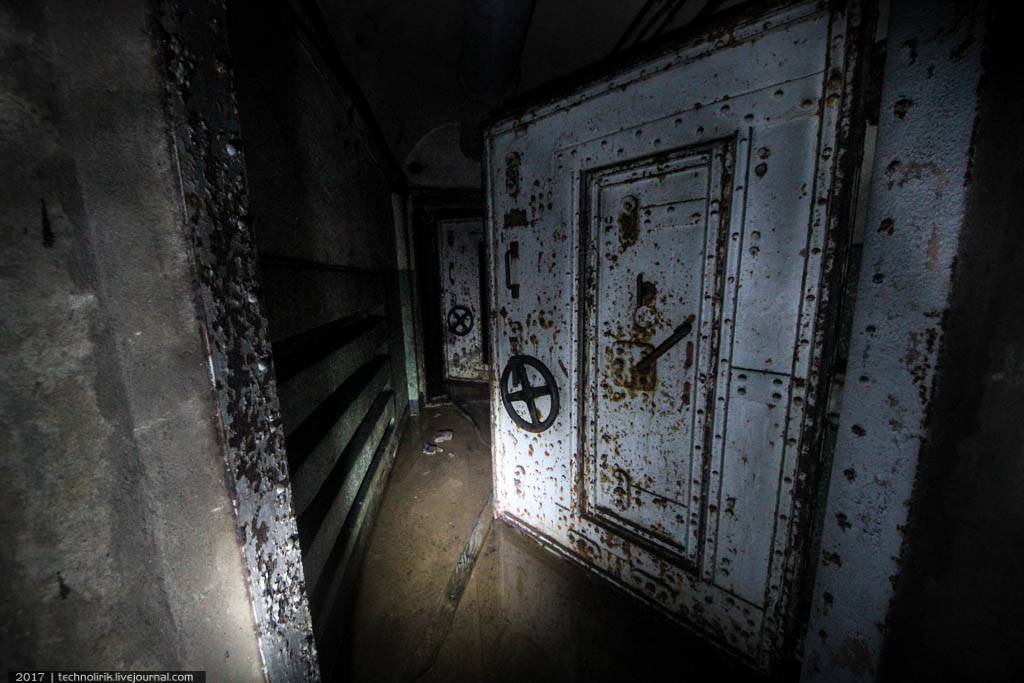
Entering another combat block through a heavy airtight door. This block had a command center at the bottom from where coordination of the fire of the entire combat sector of the fort was conducted.
Preserved telephone wiring and part of the telephone. The command center was connected by telephone to each combat block of the fort, and the fort itself had a direct link to the neighboring forts and the army command.
Room for officers of the command:
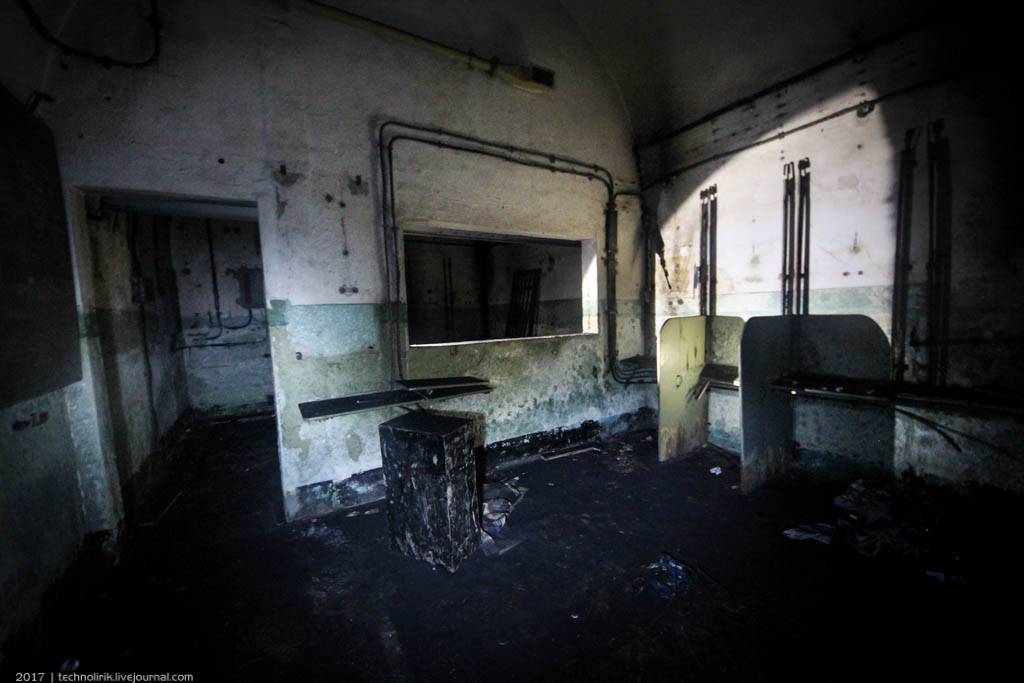
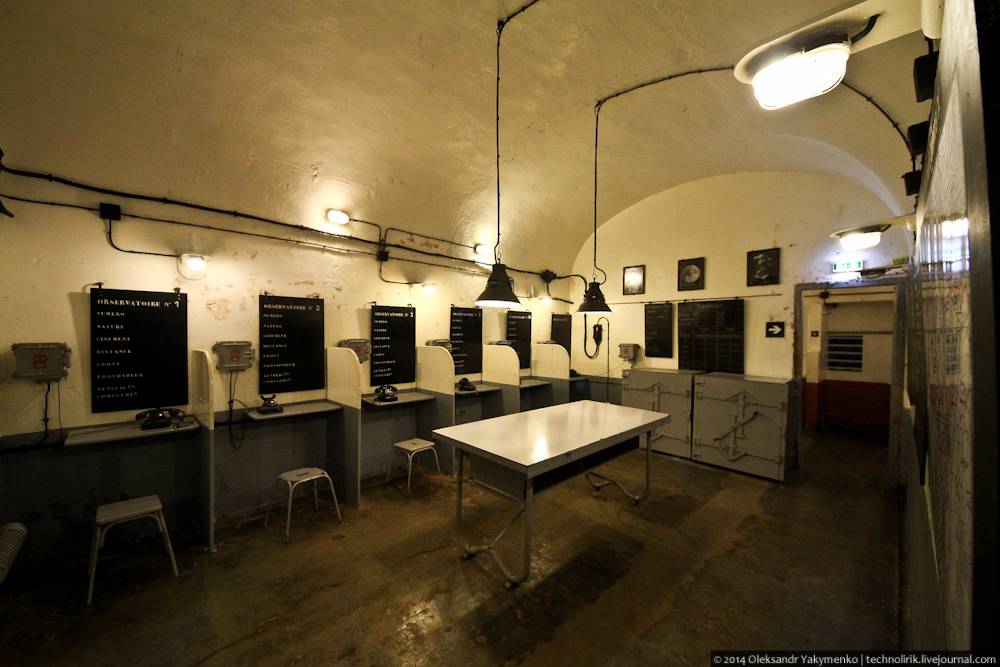
In this room, telephone operators provided communication with other blocks of the fort, as well as with neighboring forts and blockhouses. The data received was recorded and processed, and based on this data, fire control of the forts was conducted.
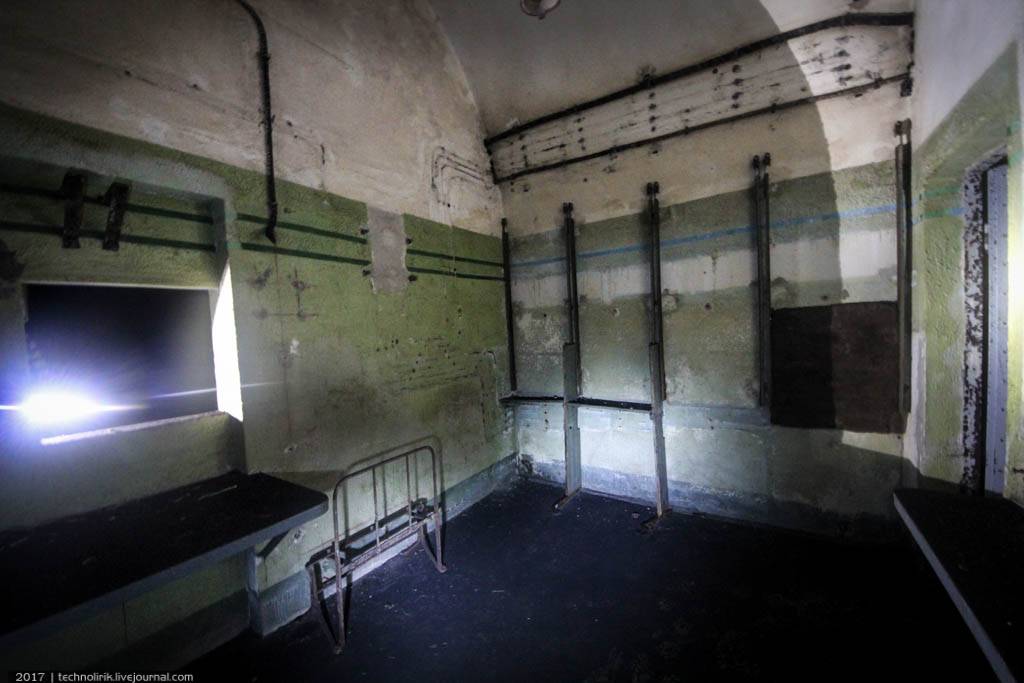
The operators occupied two adjacent rooms separated by a wall with a window.
Originally the room would have looked something like this:
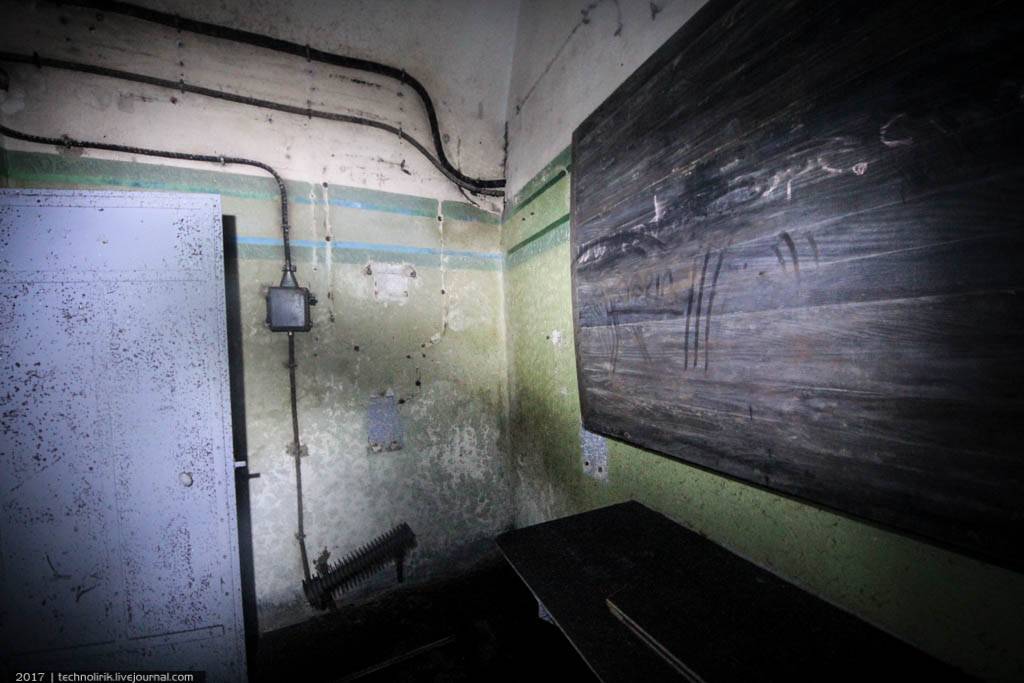
Another room of the command center with a chalkboard. This is likely to be where important decisions were made by the command:
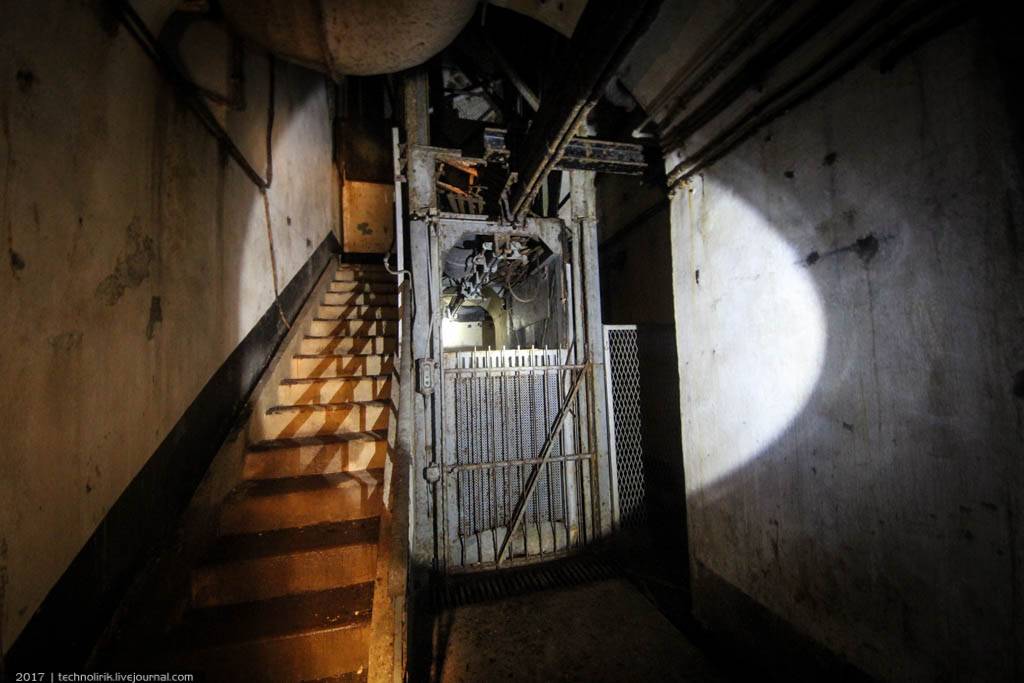
The elevator and staircase that connected the command center and the block:

The top level of the block: the casemate, with a three-tier bed. At the end, the platform that lifts to the armored observation dome can be seen.
Apart from the armored observation dome with a periscope and the GFM cloche, the block has a retractable turret with a 1935 machine gun system.
This type of turret was very common at the Maginot line. 61 turrets of this model were installed on Maginot Line facilities. The turret was served by a team of 10 people: 2 non-commissioned officers and 8 soldiers.
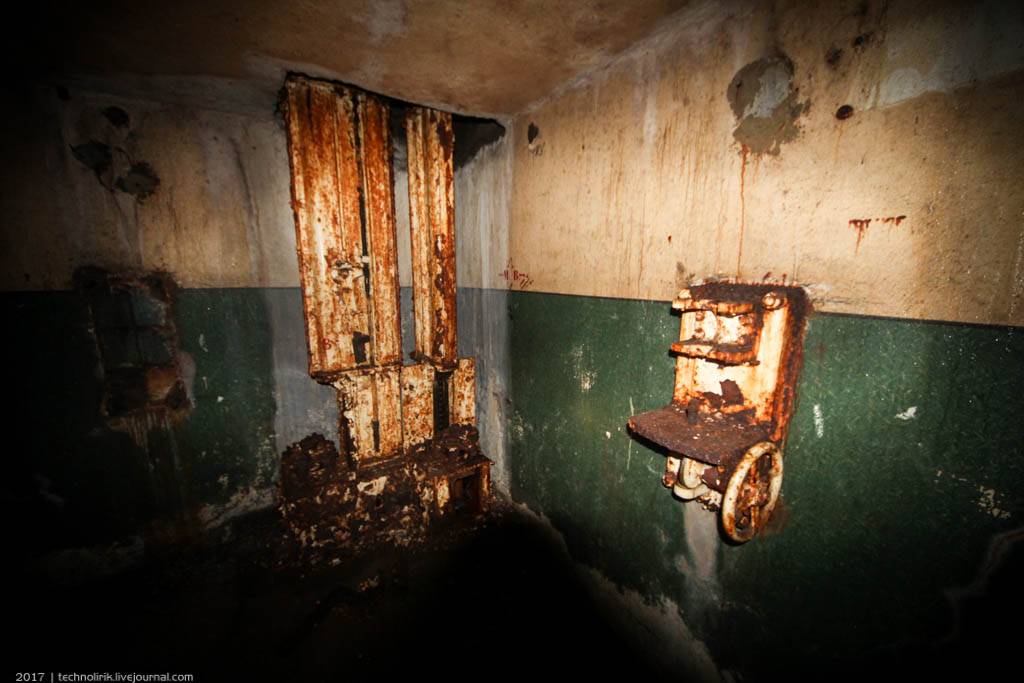
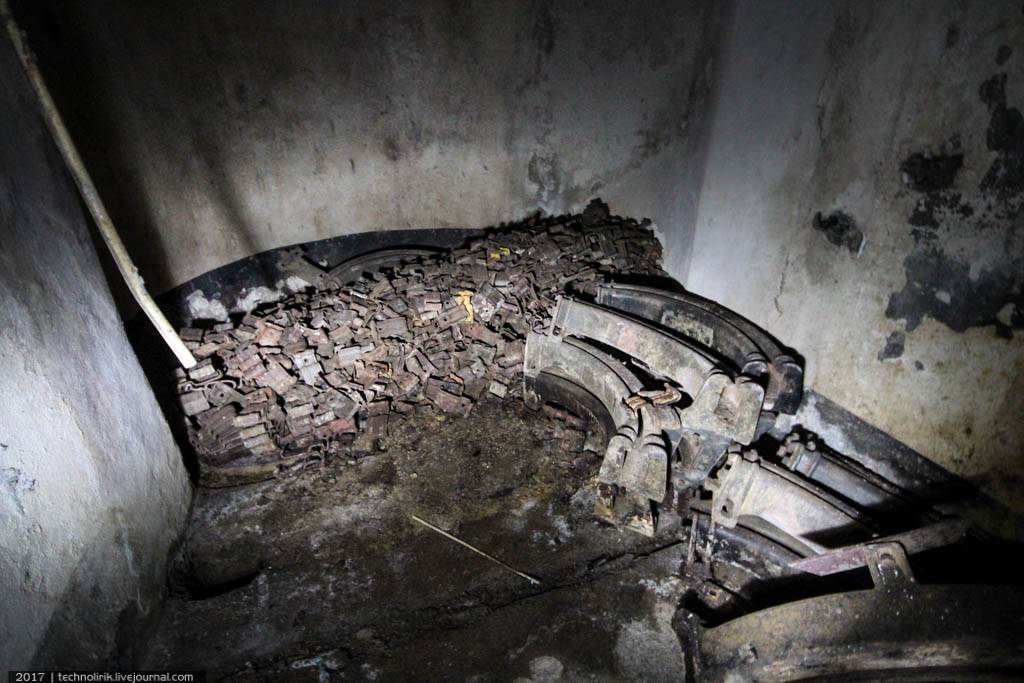
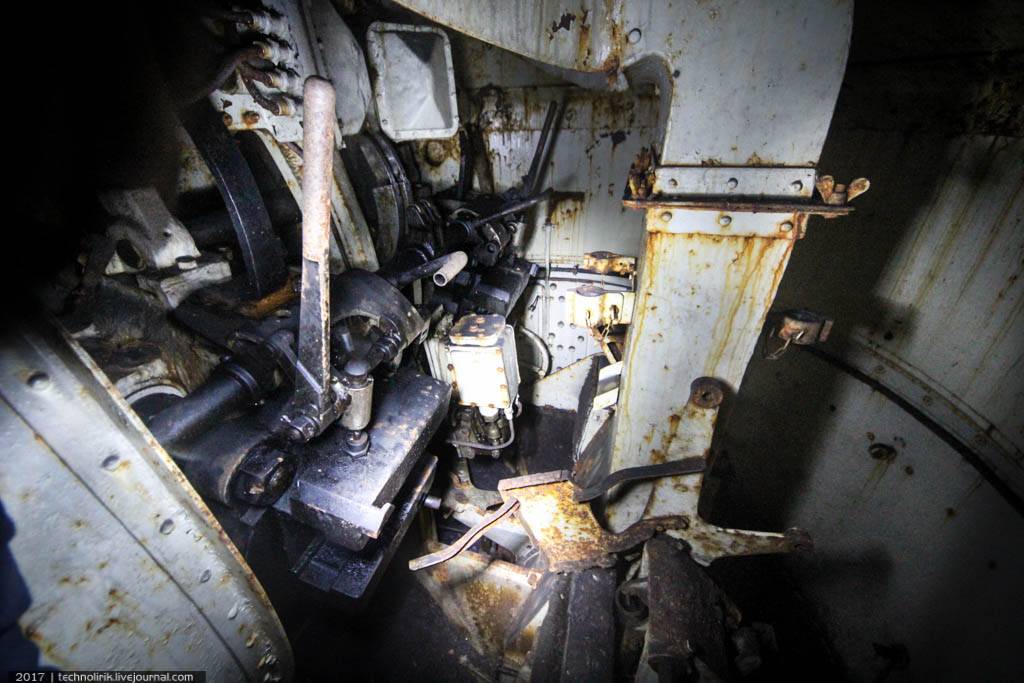
Lifting mechanism of the turret, by means of which the turret, weighing 61 tons, was easily raised into combat position by the muscle power of two people.
Going up the ladder to the top of the turret:
Inside the turret were twinned MAS-31 “Reibel” type 7.5 mm machine guns. This type of machine gun was developed specifically to be installed at the Maginot Line. It had a rate of fire of 750 rounds per minute, a 150-round magazine, and a water cooling system.
That’s it for this block. Back to the tunnel system:
We relocate. After going through another airtight door, we enter a combat block that was one of the artillery blocks of the fort. This block has an extensive underground section consisting of an ammunition depot with infrastructure for unloading and transporting heavy boxes with shells, a command center, and rooms for personnel.
One of the storage rooms with boxes for storing 75 mm shells:
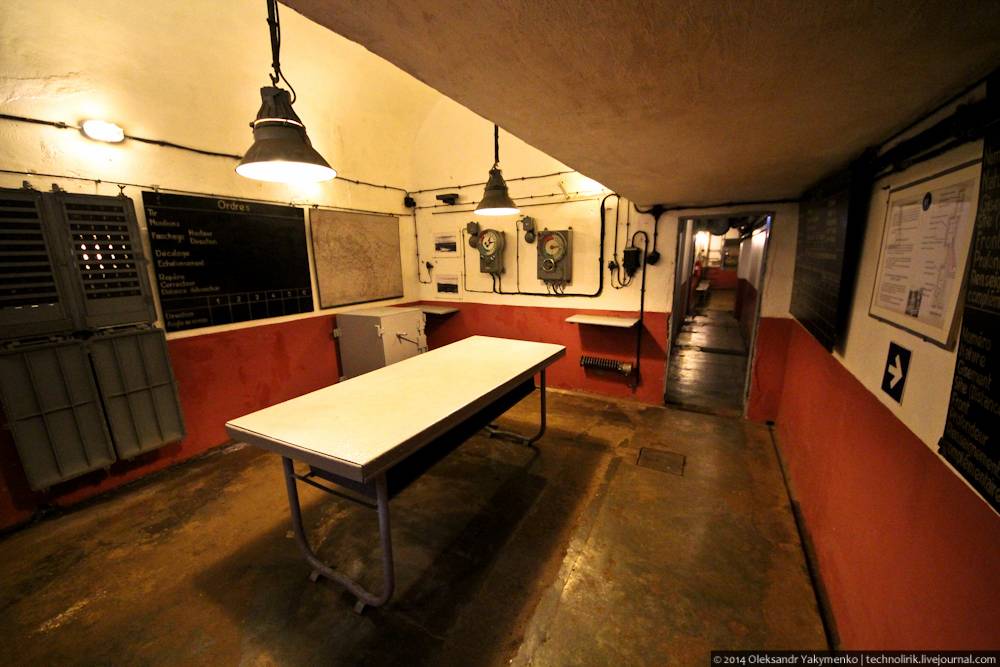
Command center of the block:
The command center originally looked something like this:
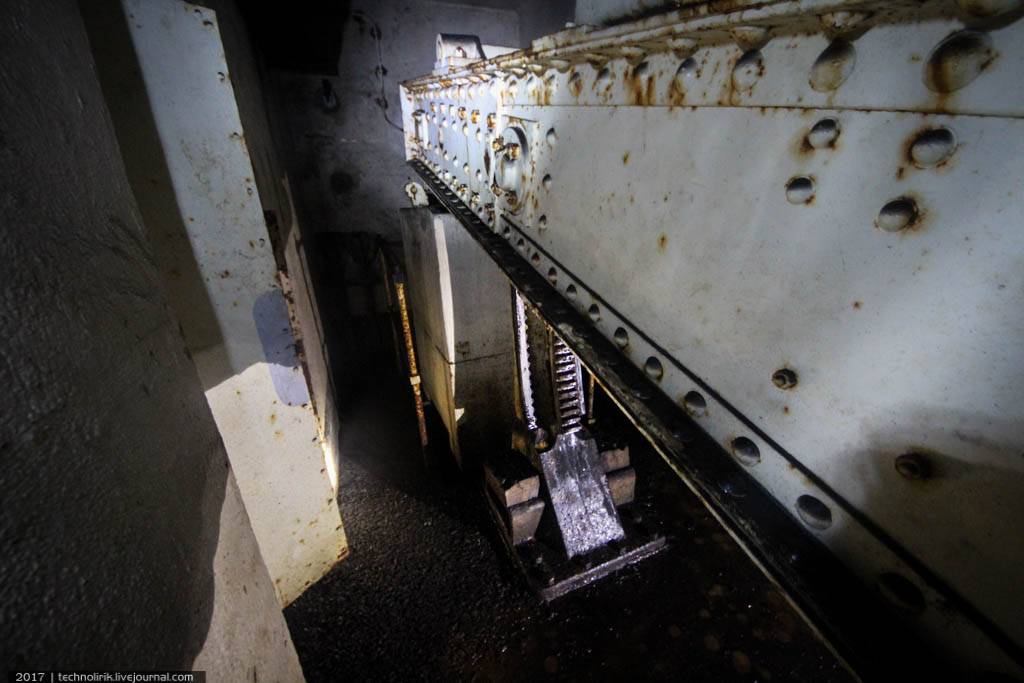
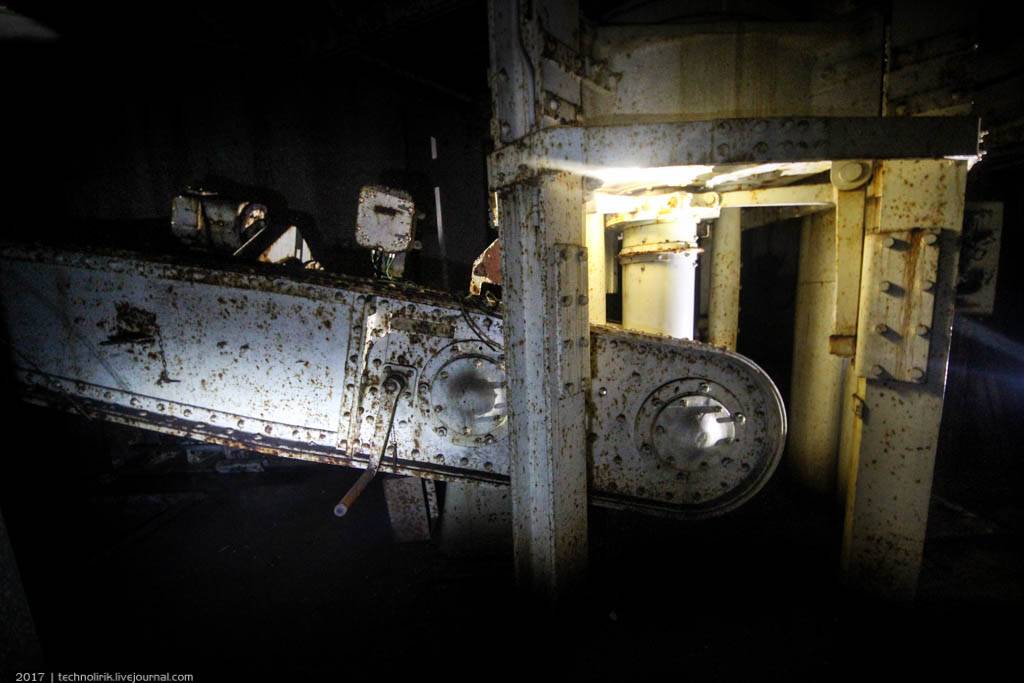
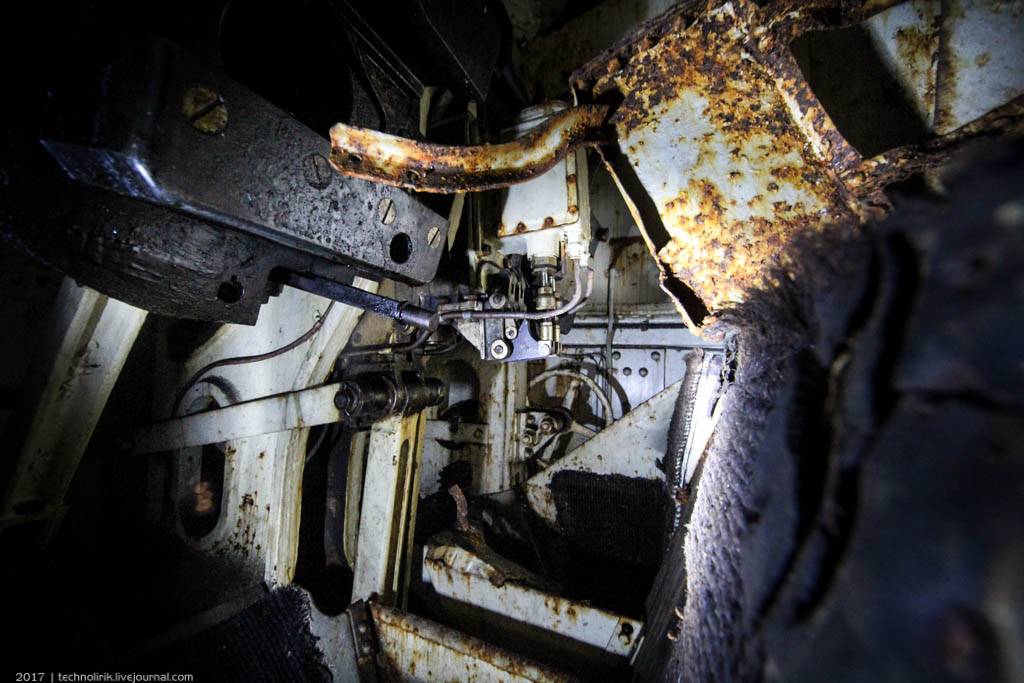
The casemate where fired shells were delivered. They slid down a conveyor straight from the turret.
Here, a section of the conveyor down which the fired shells slid can be seen:
The staircase to the top of the combat block:

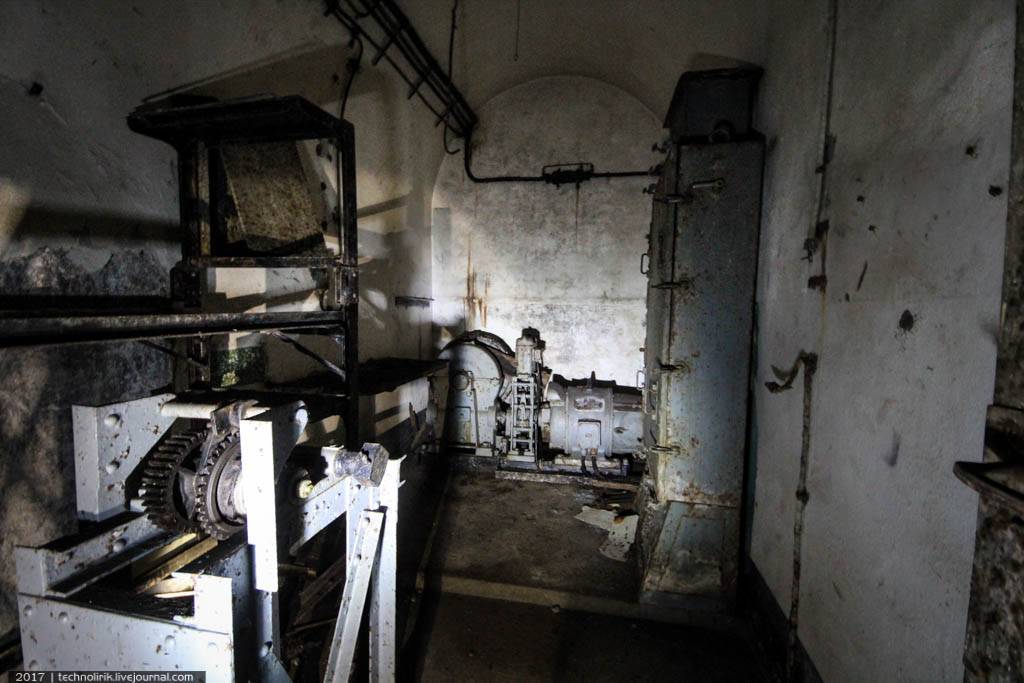
There is also an elevator to transport boxes with ammunition. Boxes were placed on a suspended monorail and delivered to the top of the block in this suspended position.
The electric drive of the elevator in pristine condition:
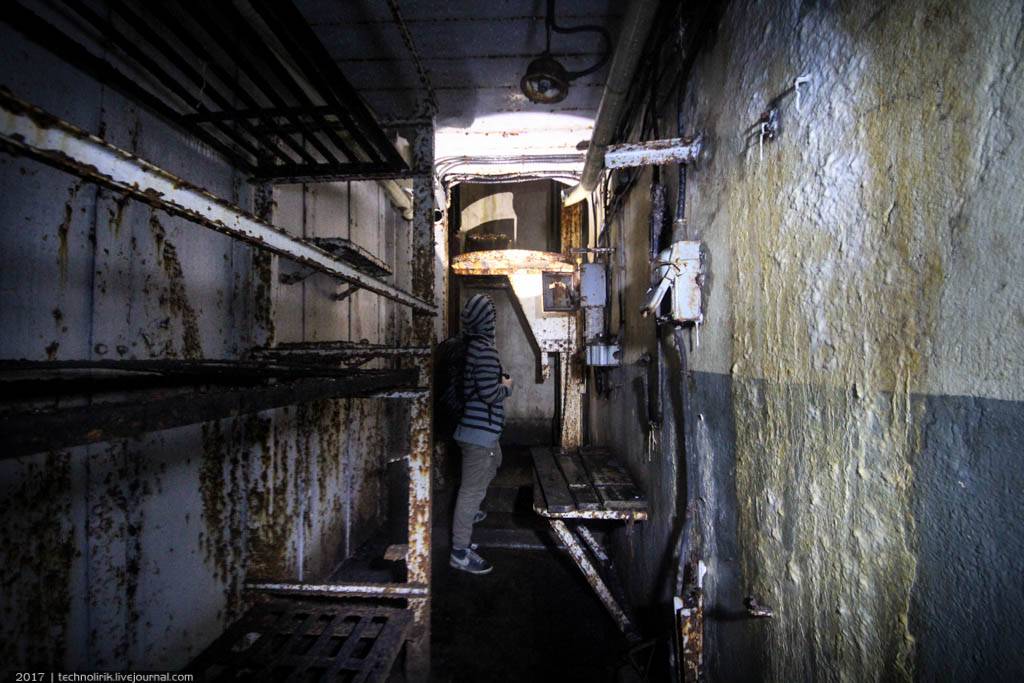
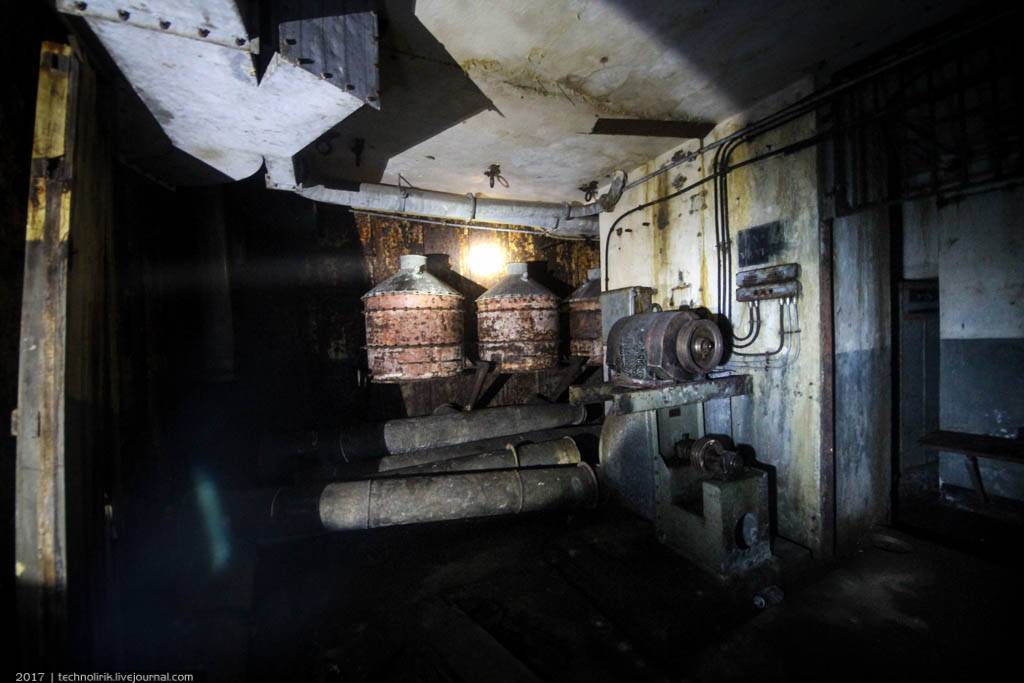
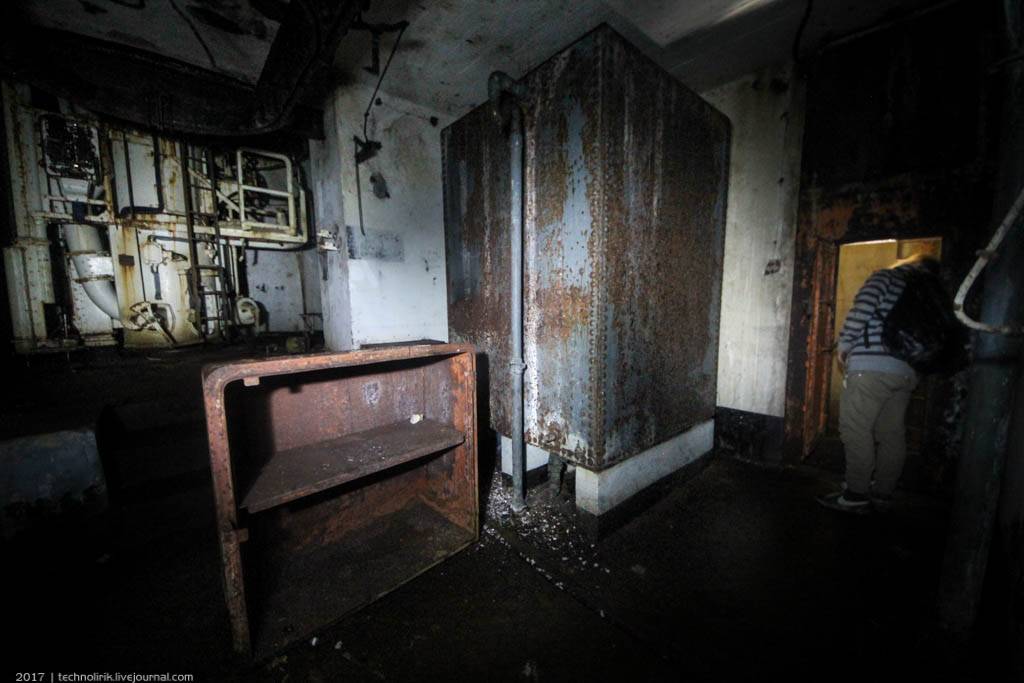
The lower level of the combat block with resting rooms for soldiers, hygiene facilities, a water reservoir, and a filtering and ventilation system (pictured).
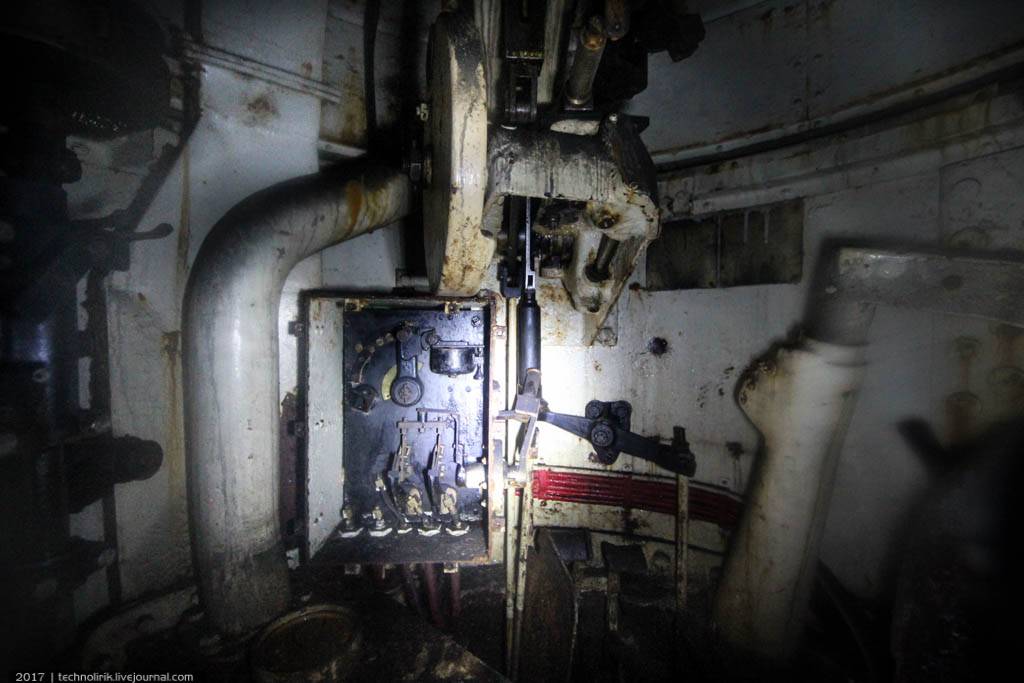
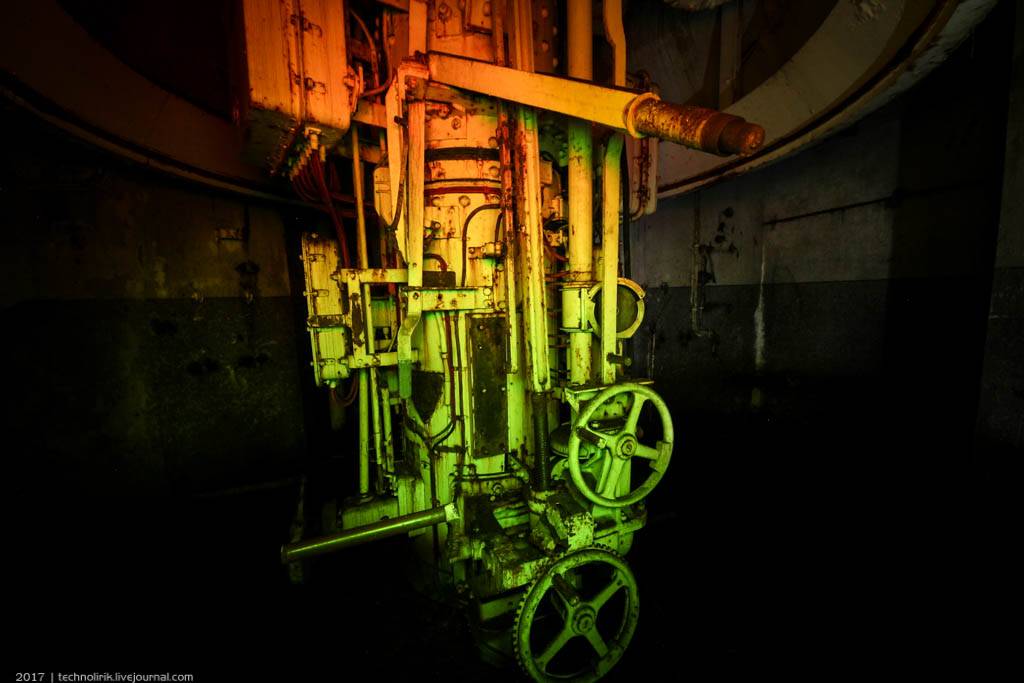
Lifting mechanism of the retractable turret:
Fragments of monorail:
Water tank:
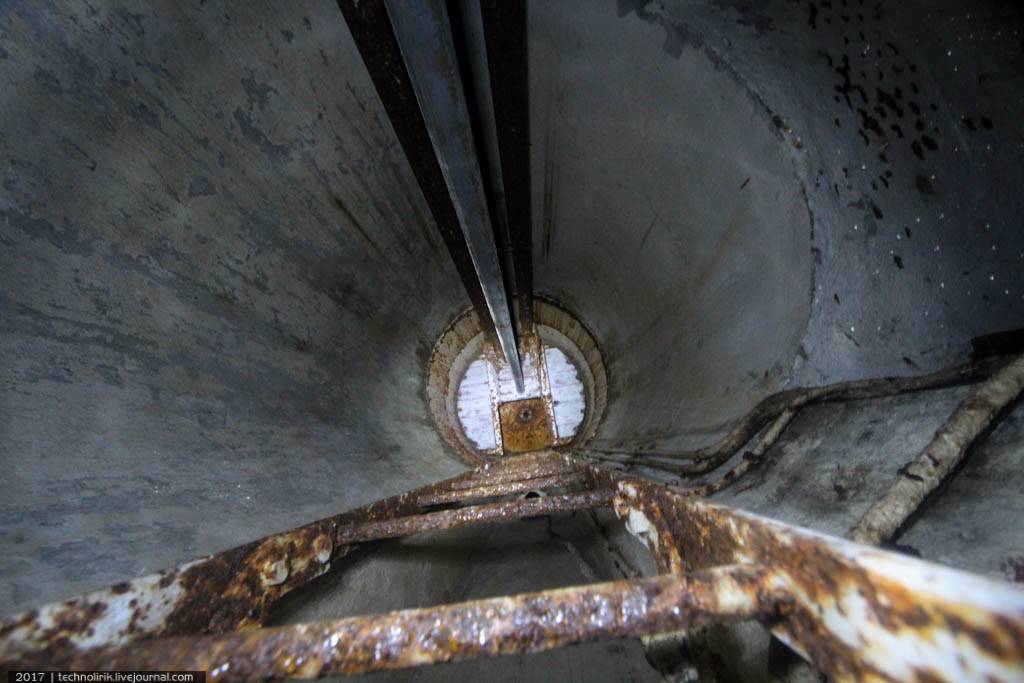
GFM cloche shaft:
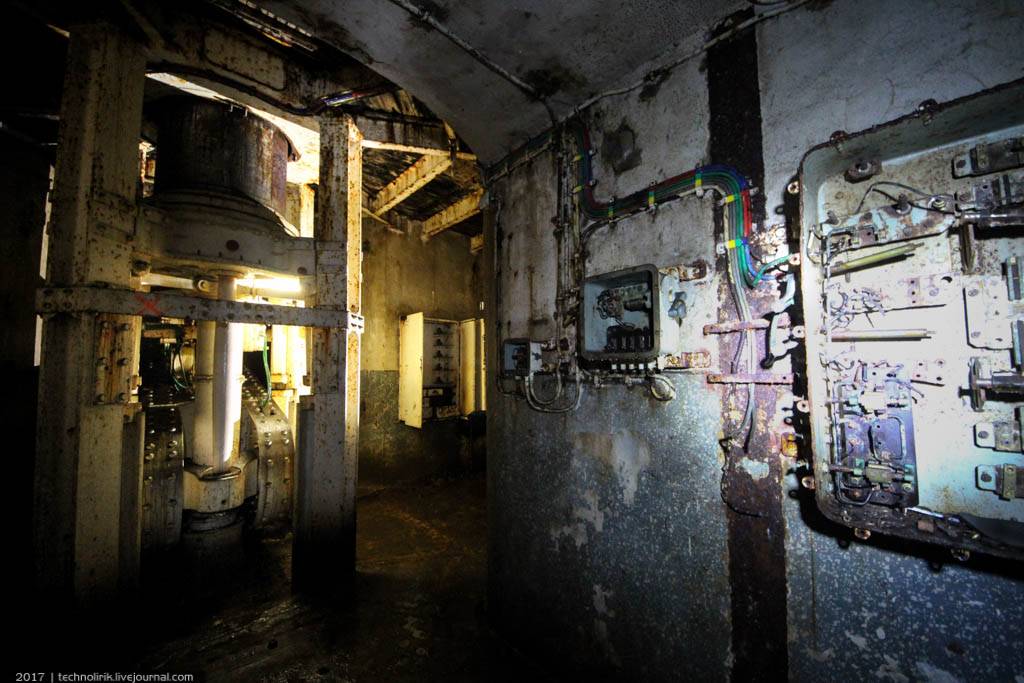
Electrical panel:
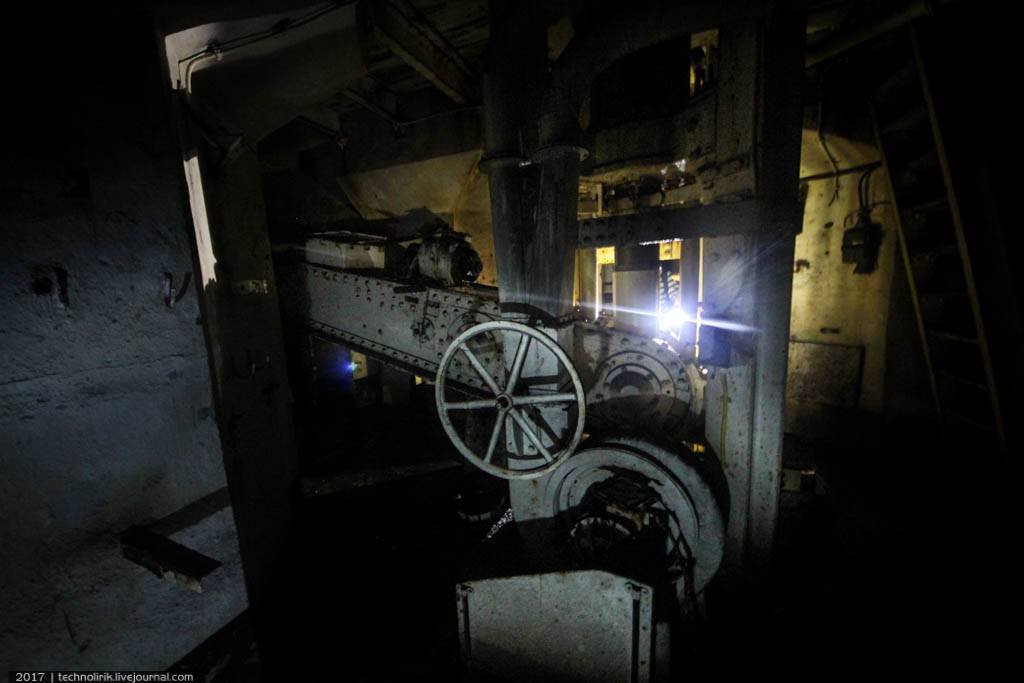
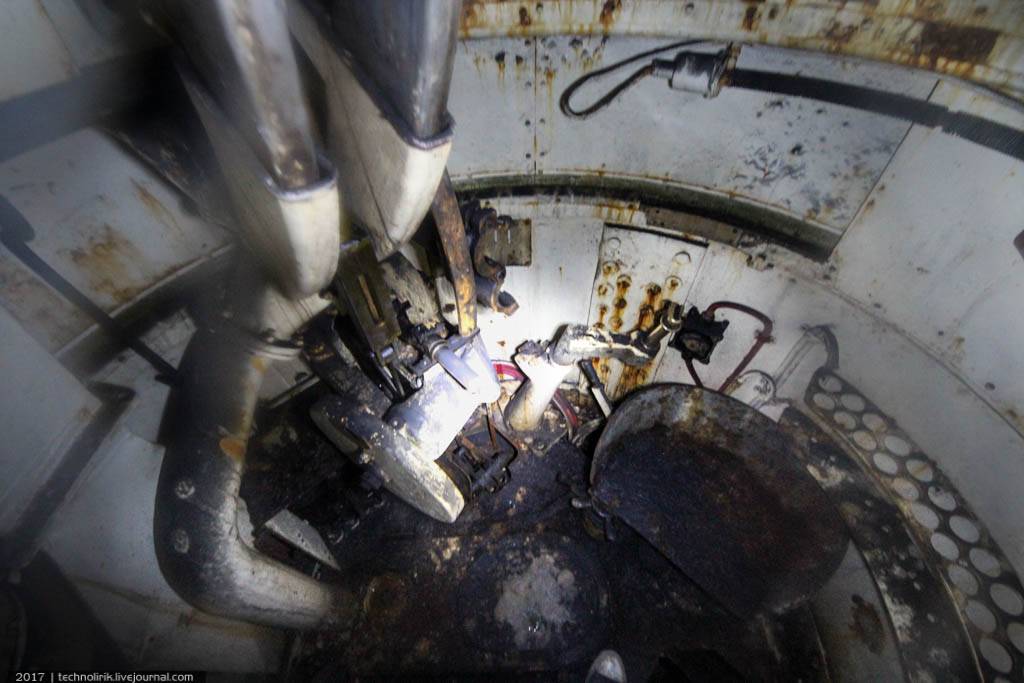
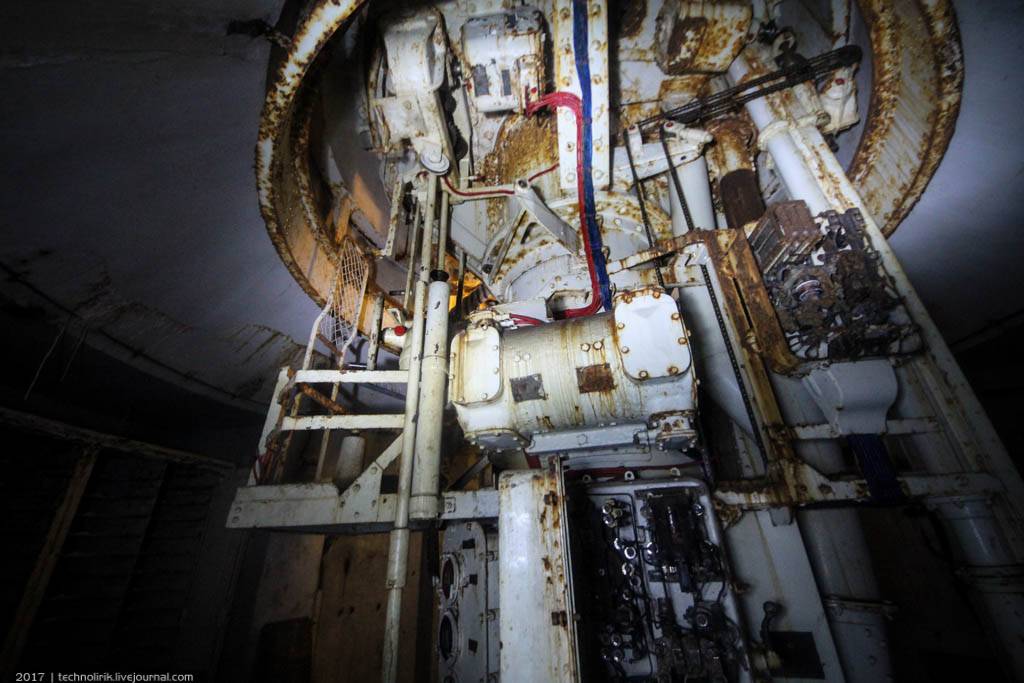
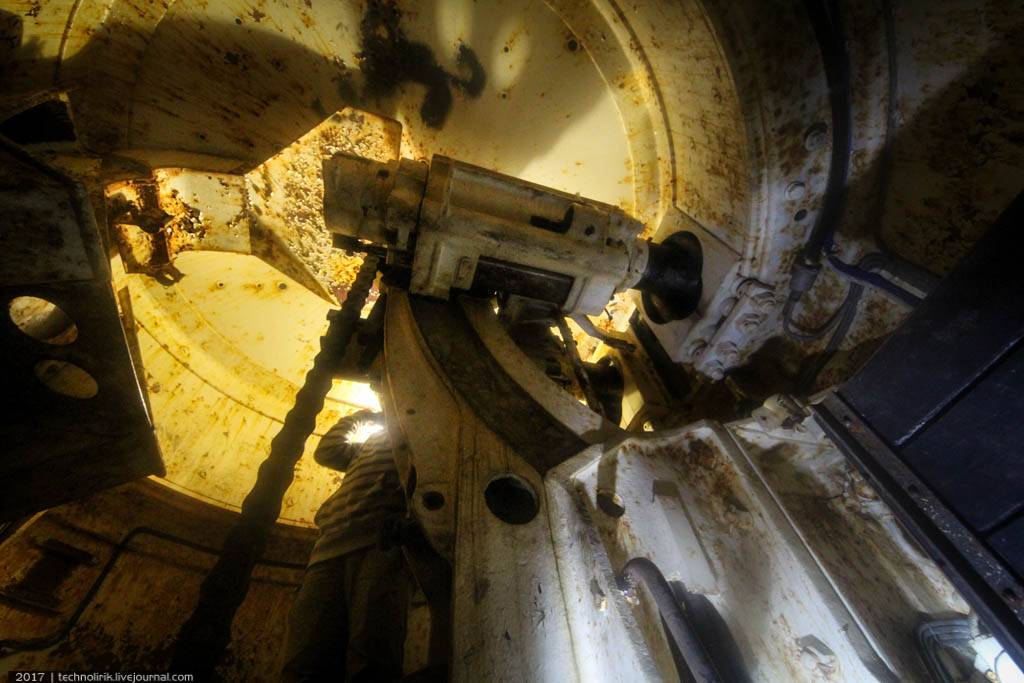
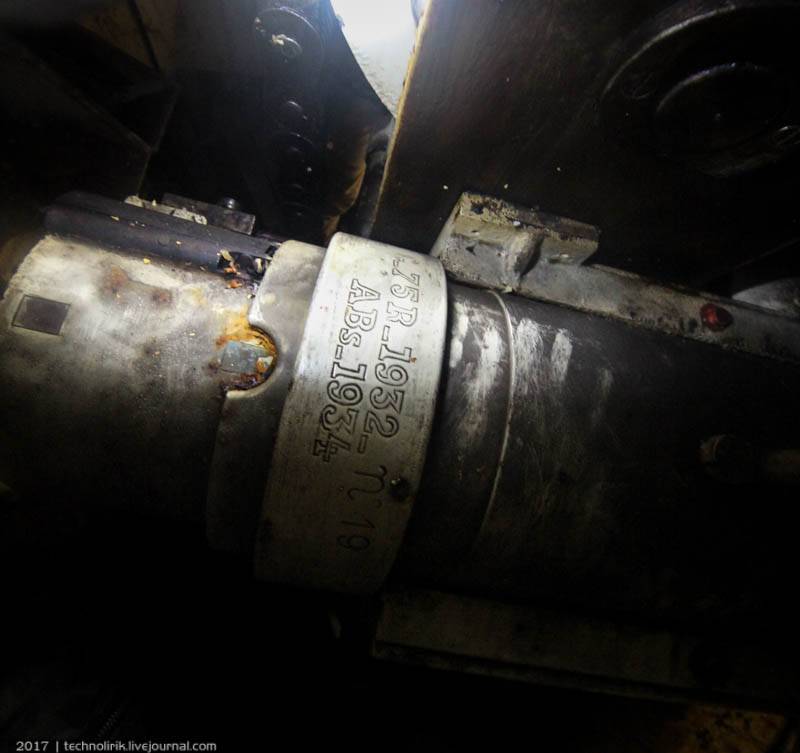
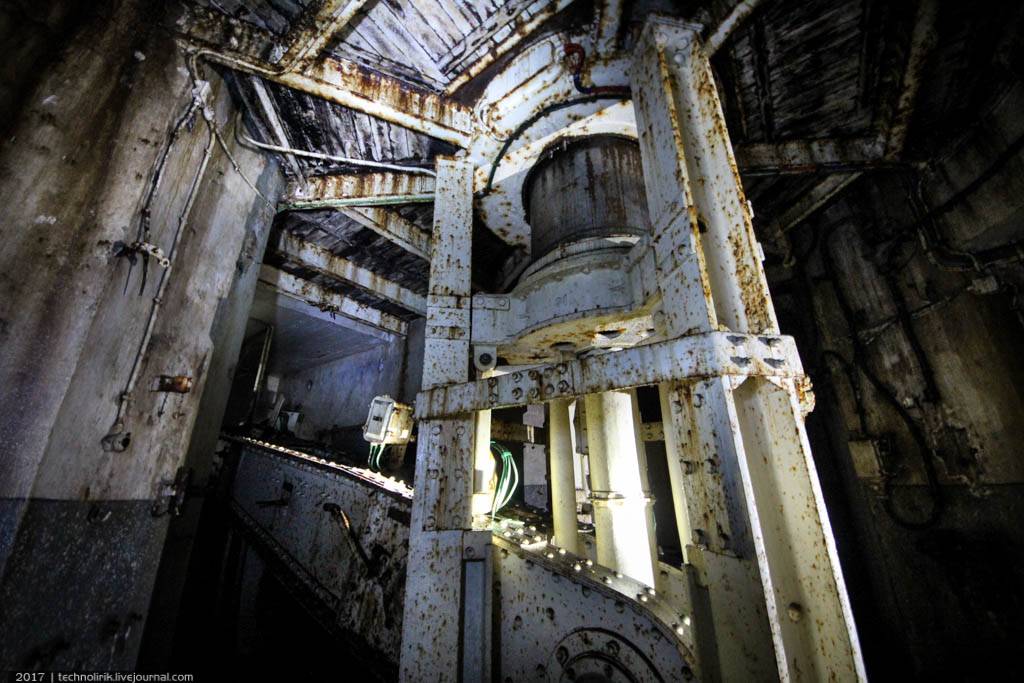
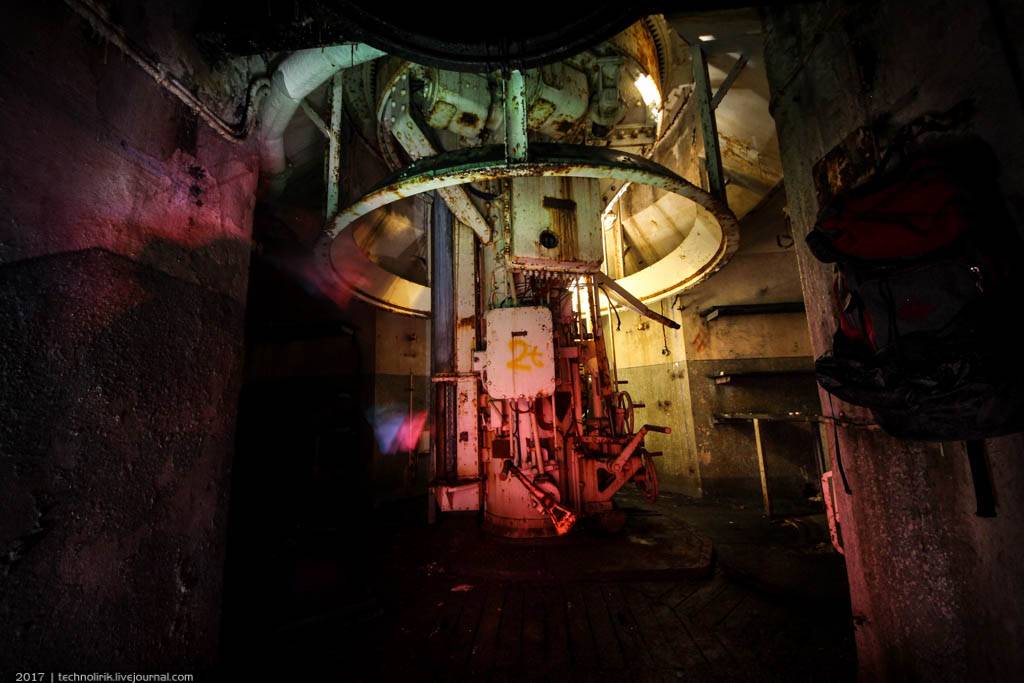
The bottom of a huge retractable turret, inside which two 75 mm guns (model 1932 R) were placed.
The height of the entire structure of the turret is 40 feet, and the weight is 189 tons. There are two turrets like this in the fort. In total, 12 towers of this model were made for the Maginot Line forts.
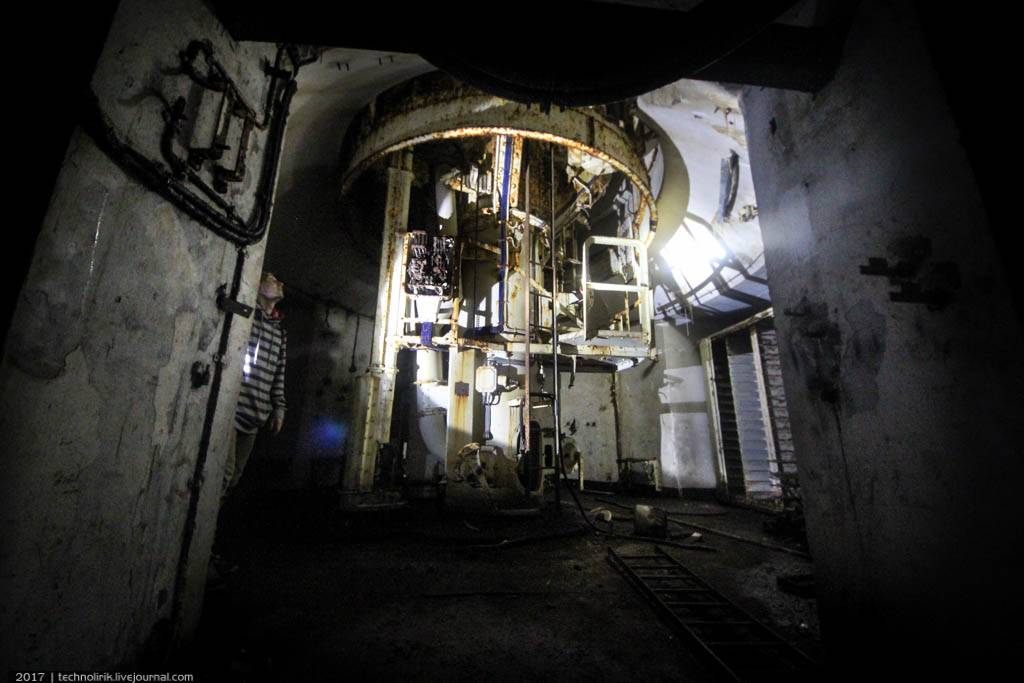
The turret had a garrison of 25 people: 6 non-commissioned officers and 19 soldiers. The turret garrison received commands and coordinates from the command center and this determined the aiming, but there was also an aim for direct fire. In order to eliminate the possibility of gases getting into the turret, air was forced into the dome under pressure. The rotation angle of the tower was 375 °, so the tower could not rotate in a full circle.
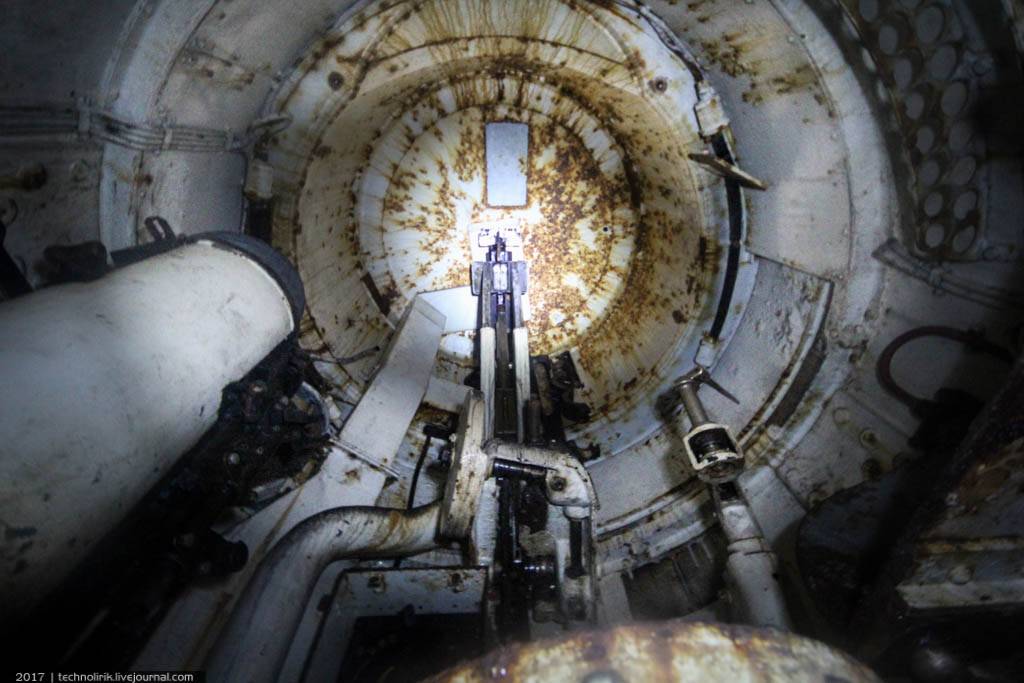
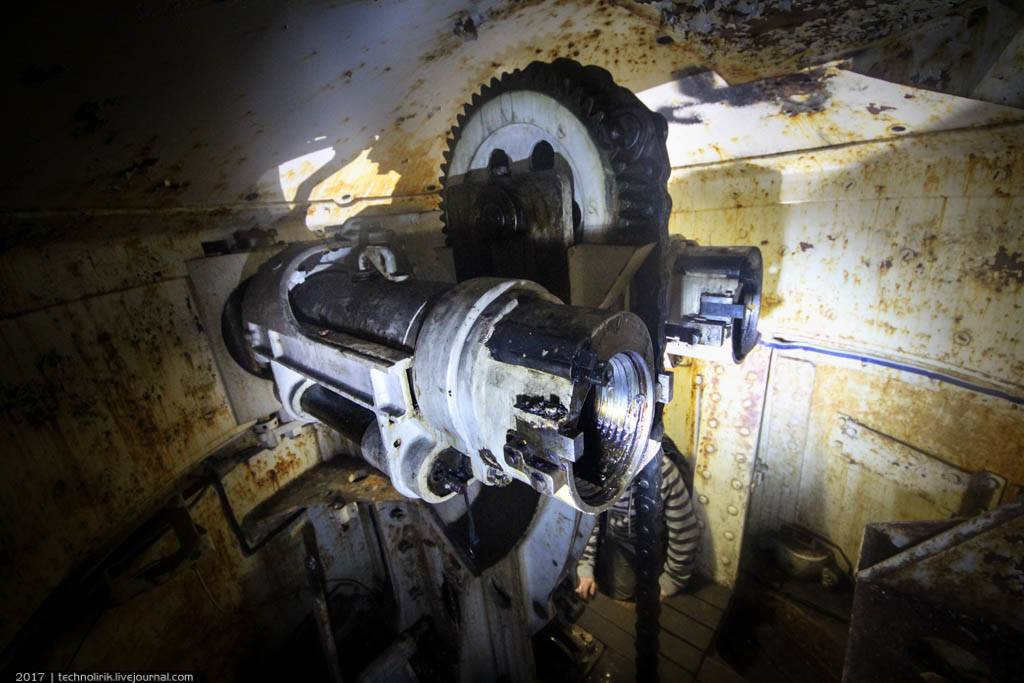
Inside the top of the turret, the two 75 mm guns are still in place: what a surprise!
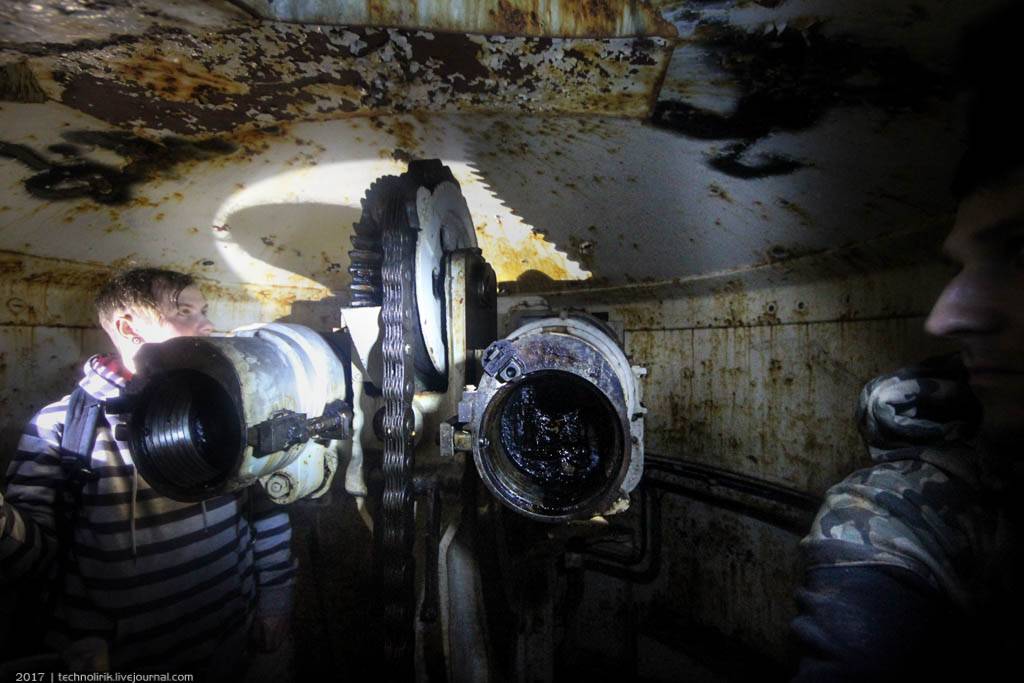
A turret of model 1932 had two 75 mm guns with a range of up to 3,000 feet and rate of fire of 13 rounds per minute. In emergency situations, the rate of fire could be increased to 50 rounds per minute.
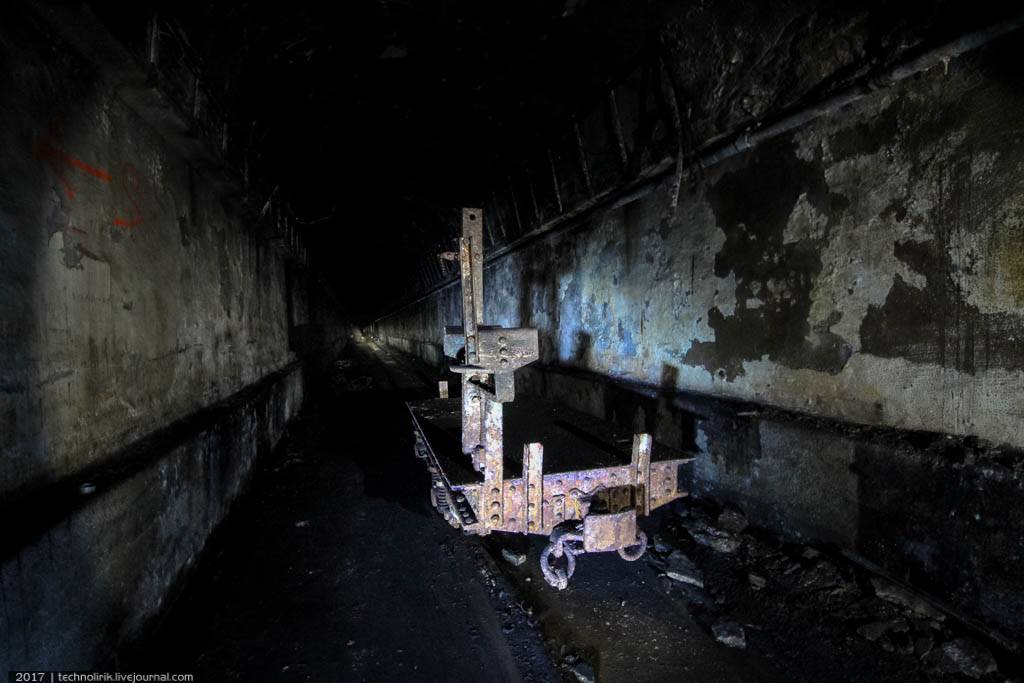
Back to the tunnel system. You can see the rails of the narrow-gauge railway that was used at the facility to transport loads faster and more easily:
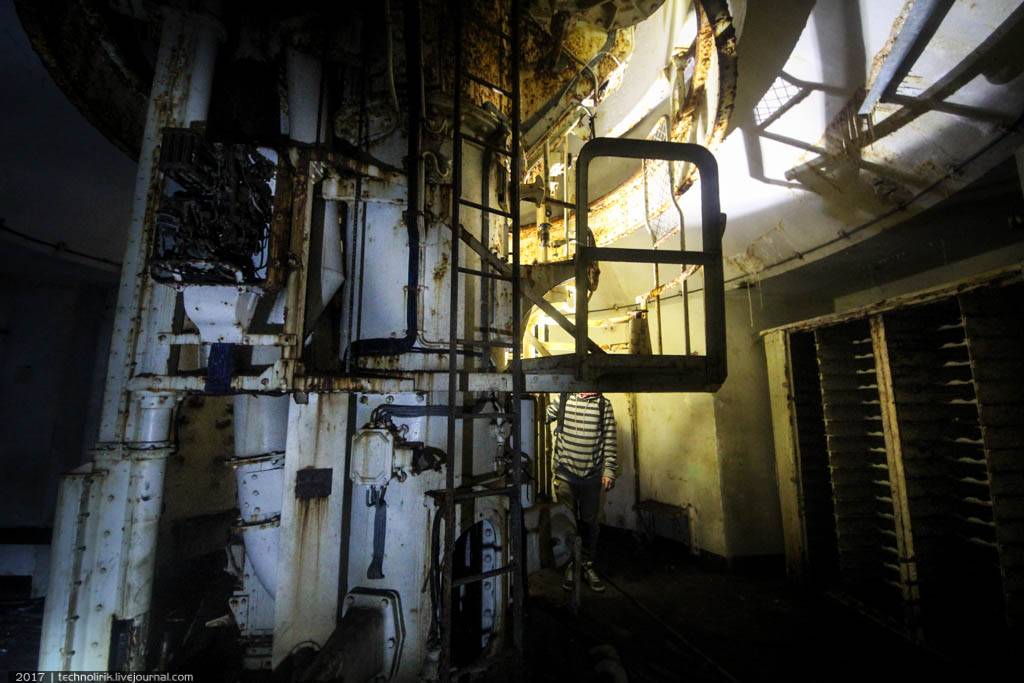
We now get to another combat block. Now that we are familiar with the structure and appearance of combat blocks in this fort, let’s jump straight to the most fascinating and beautiful part of the block: the turret.
Ascending to the upper level of the turret, from which it is possible to climb to the top where the guns were installed:
The diameter of the armored turret is 10 feet, and the armor thickness is 11.8 inches. The turret, together with its guns, weighed 163 tons.
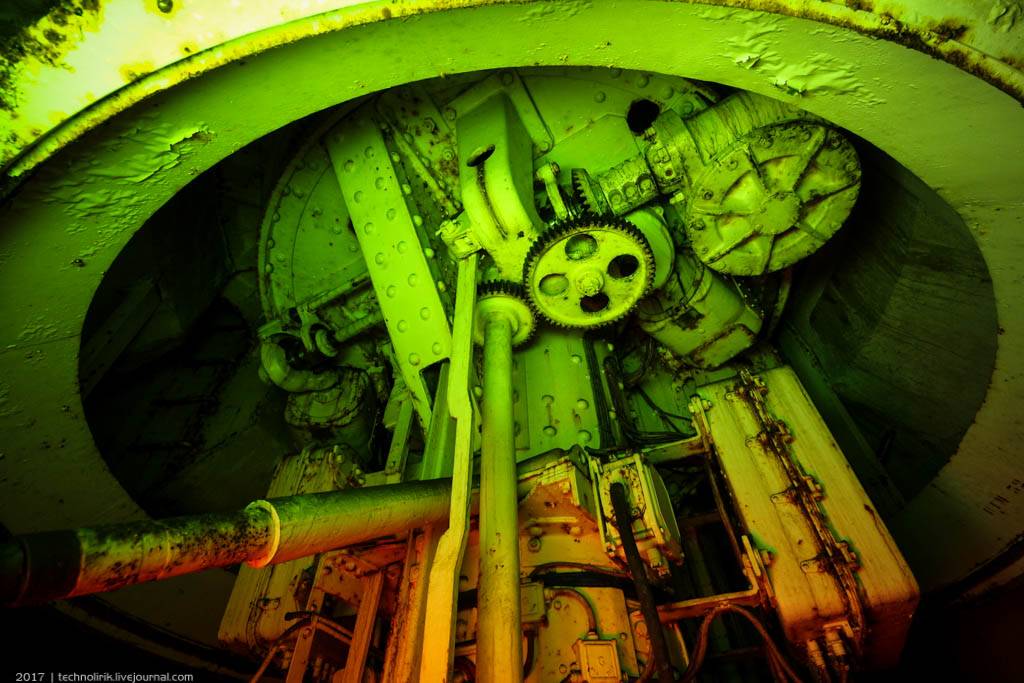
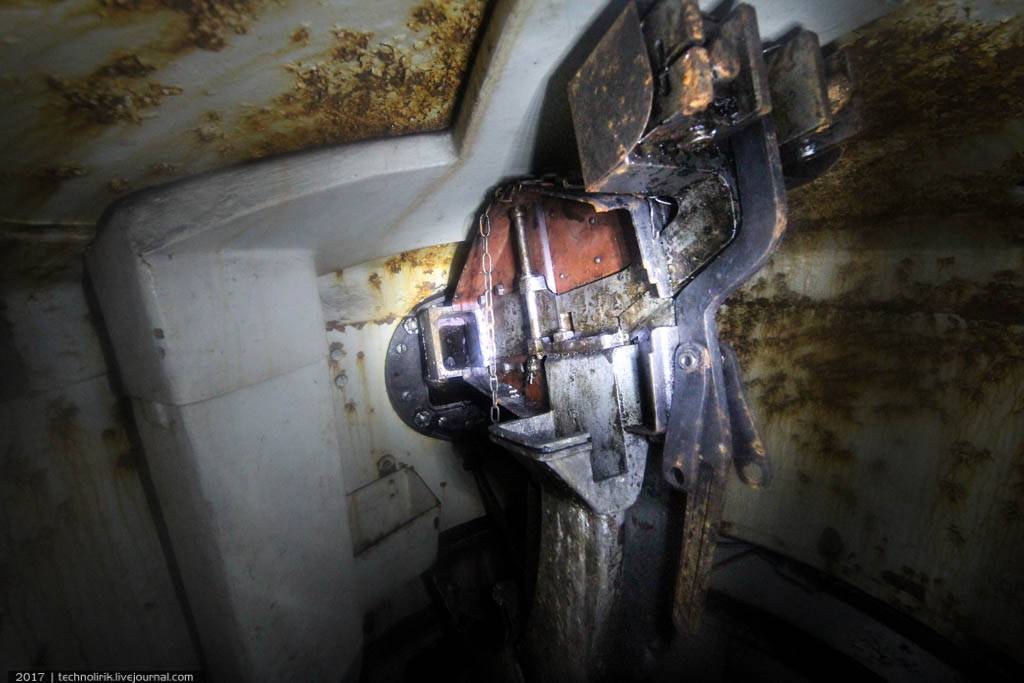
Inside the turret is another pleasant surprise: two 135 mm mortars in very good condition and a whole load of other technology!
The mortars have short barrels, each a little longer than three feet, and could hit a target that was between 1,000 and 18,400 feet away. The rate of fire was up to 12 rounds per minute, and the two mortars fired in sync.
We are now leaving the combat block and descending into the underground tunnels to explore other facilities of the fort. The main passageway has a narrow-gauge railway for the faster transportation of ammunition along the 300-foot-long tunnel.
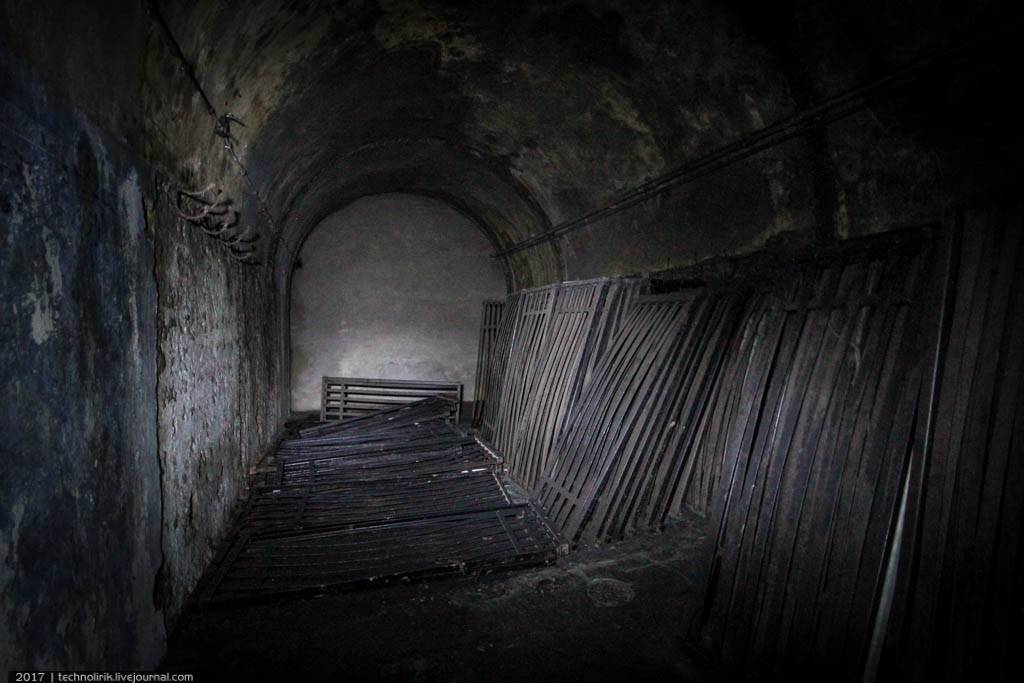
The living quarters of the fort were located in the middle of the underground complex behind an airtight door.

Dismantled soldiers’ beds:
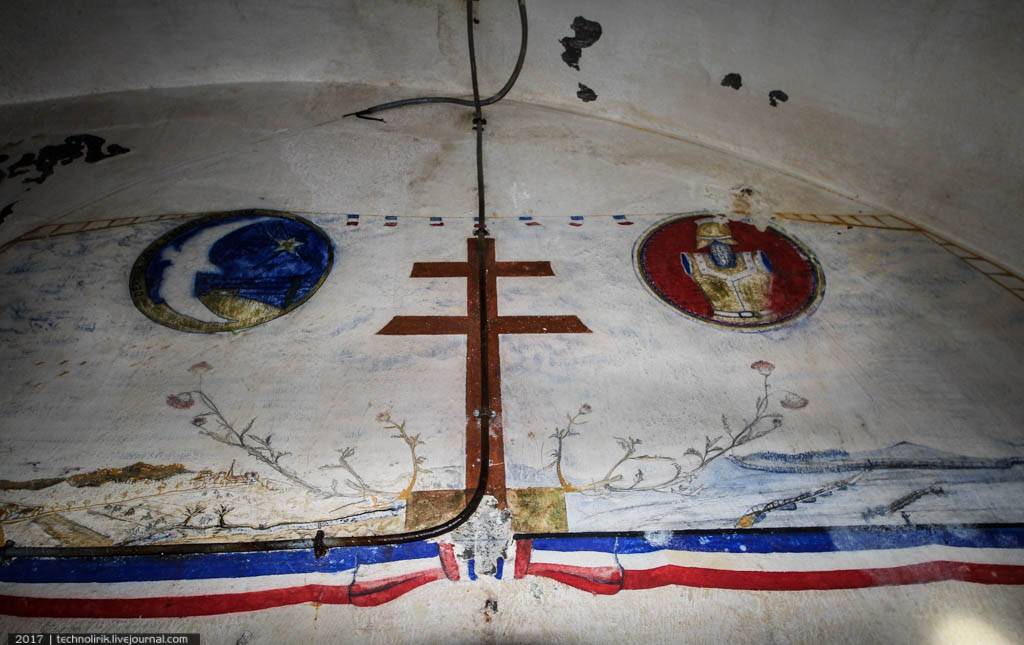
The living quarters have many pictures painted on the walls. For example, this fresco depicts the badges of the military units stationed in the fort – the 18th Signals Regiment and the 2nd Engineering Regiment. Below, landscapes of Lorraine are pictured.
The Basque orchestra fresco:

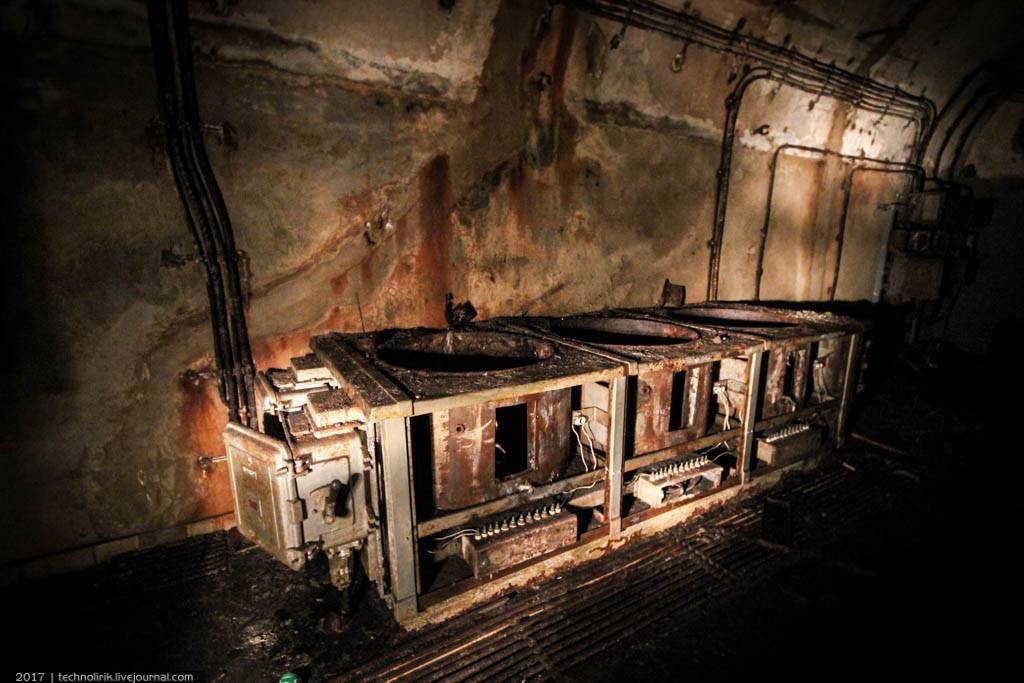
Kitchen with cooking equipment:
Next to the living zone is a power station. Pictured is an electric workshop with storage racks for tools and spare parts.

Entrance to the power station:
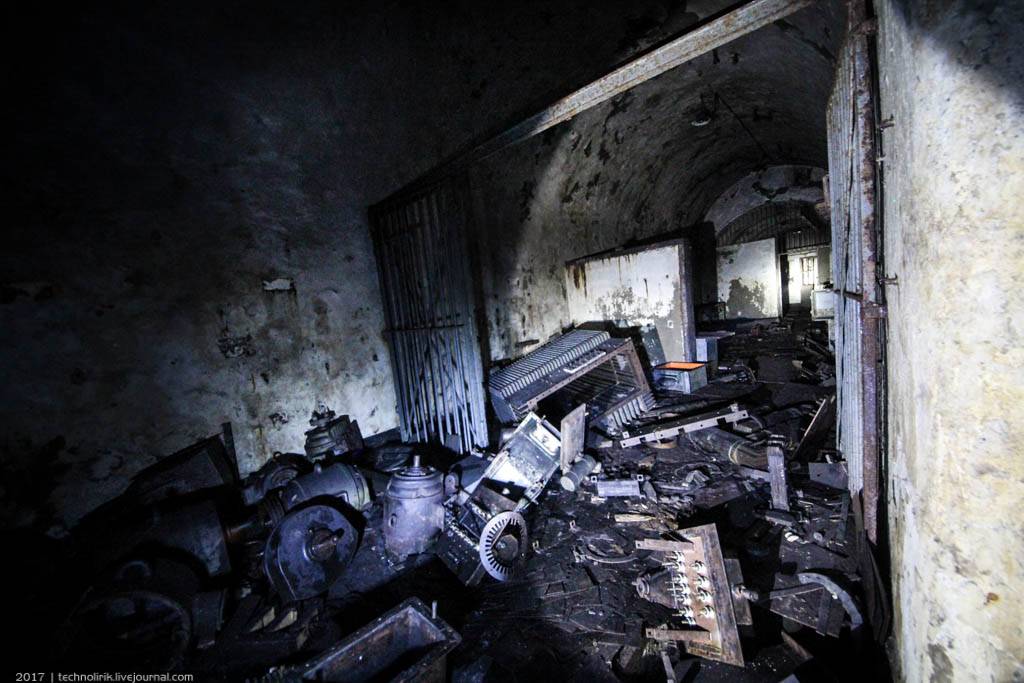
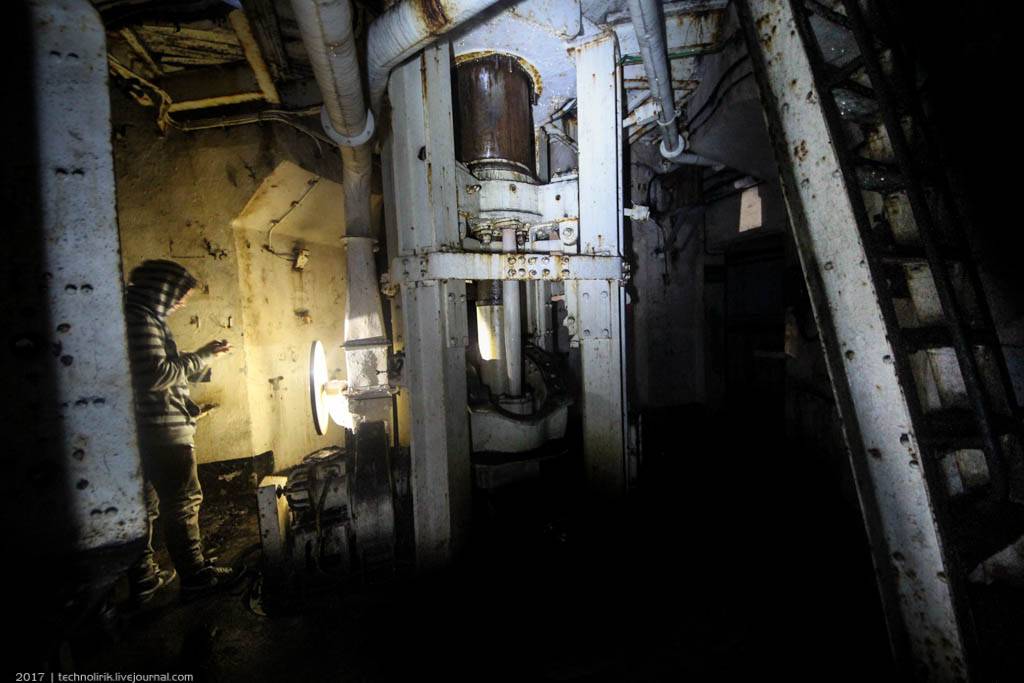
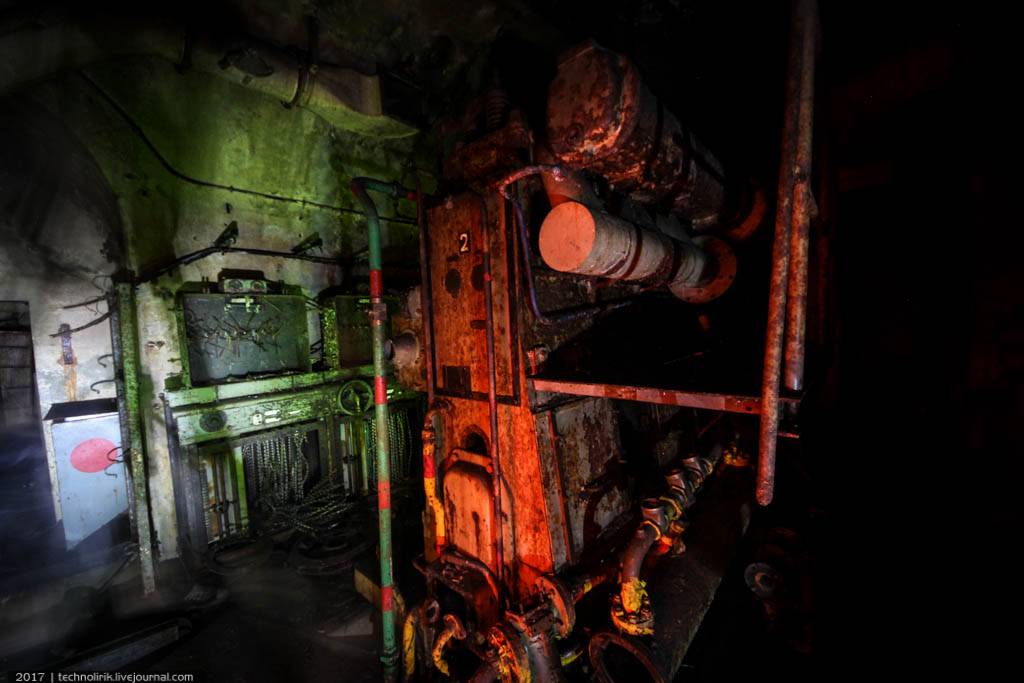
At the heart of the power station was four SGCM diesel engines, which produced 150 hp each, each at 375 rpm.
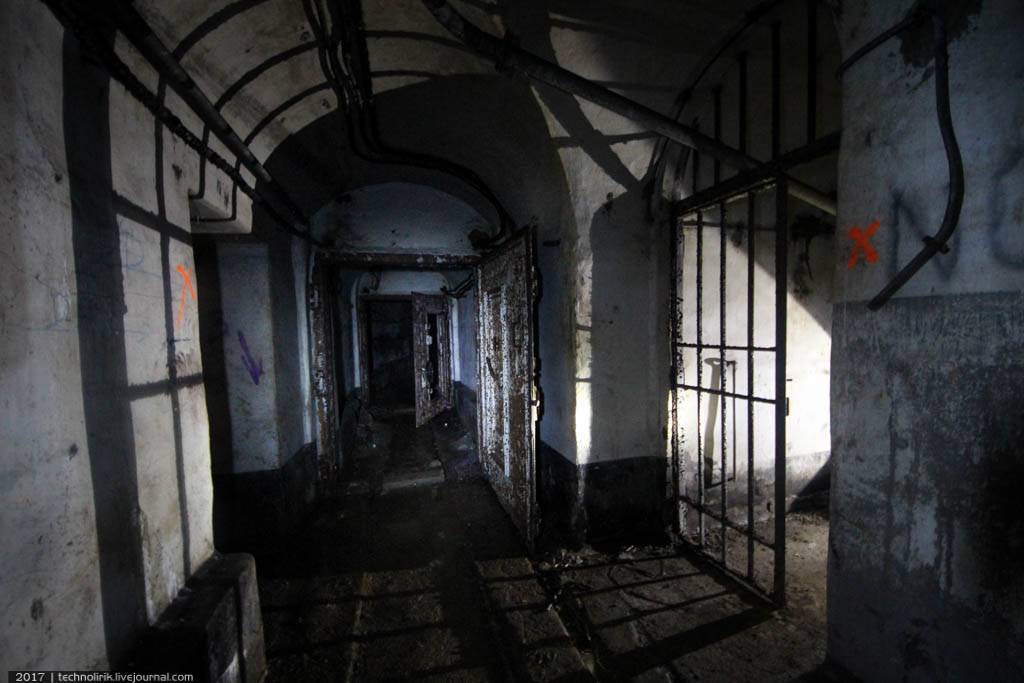
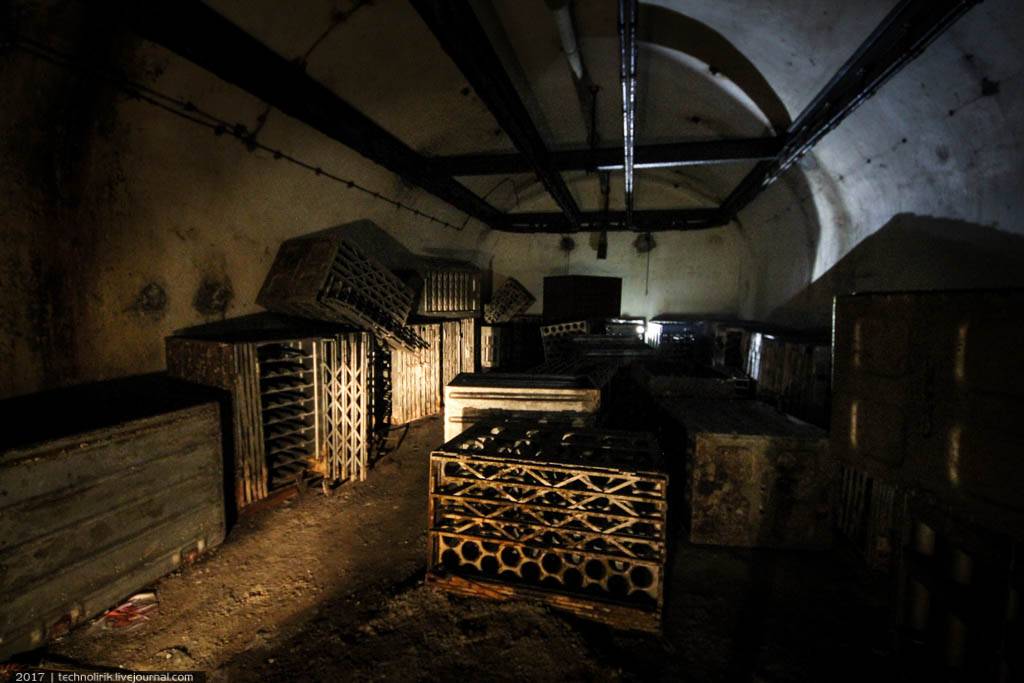
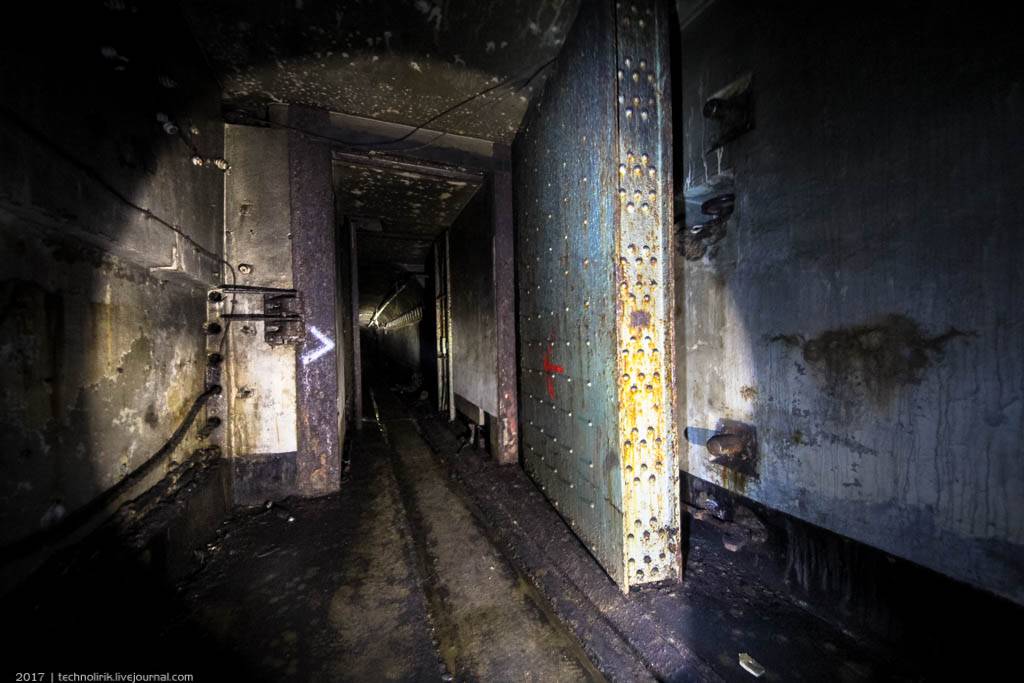
After looking around the living quarters, we go back to the tunnels and go forward until we reach the artillery depot sector. It is separated from the rest of the fort by a heavy, thick armored door so that in the event of detonation of ammunition inside the depot, the shock wave would be contained.
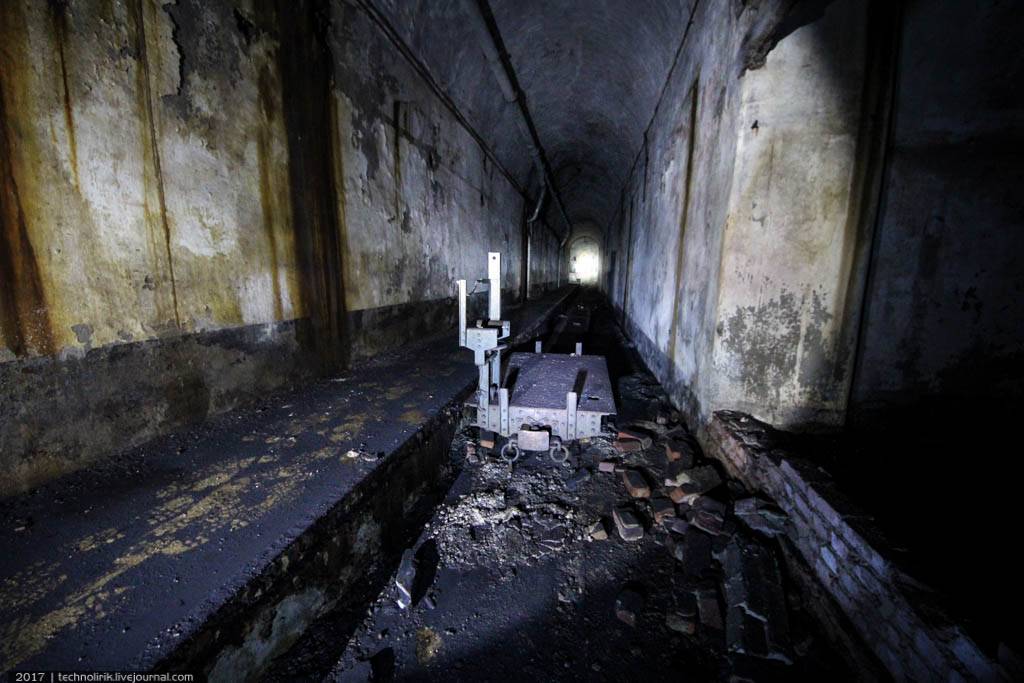
Along the entire railway track in the depot sector is a loading platform. Here, on narrow-gauge trains, ammunition was delivered from the surface and stored and transported along the narrow-gauge railway.
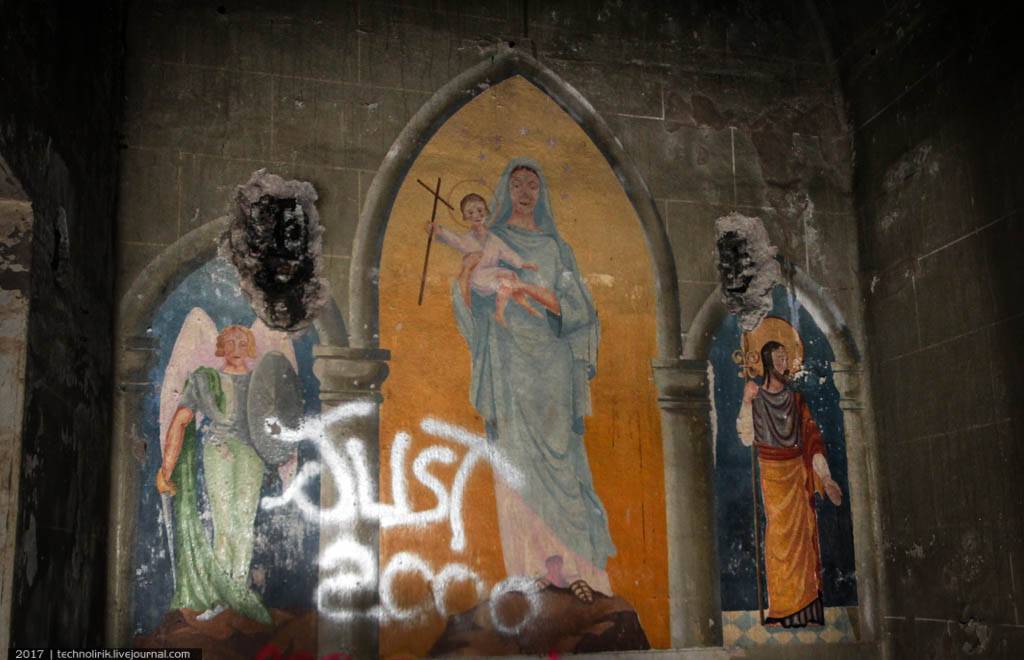
The narrow-gauge rail ends at a wall, on which a fresco depicting the Virgin Mary with baby Jesus is painted. Here, soldiers organized a small chapel. The fresco was created by two soldiers of the 2nd Engineering Regiment of the French Army – sappers Raymond Charpentier and Robert Tinet – and Master Corporal Yves Cornet at the request of Captain Suhas, the commander of the infantry division of the fort. Someone disrespectfully vandalized the fresco.
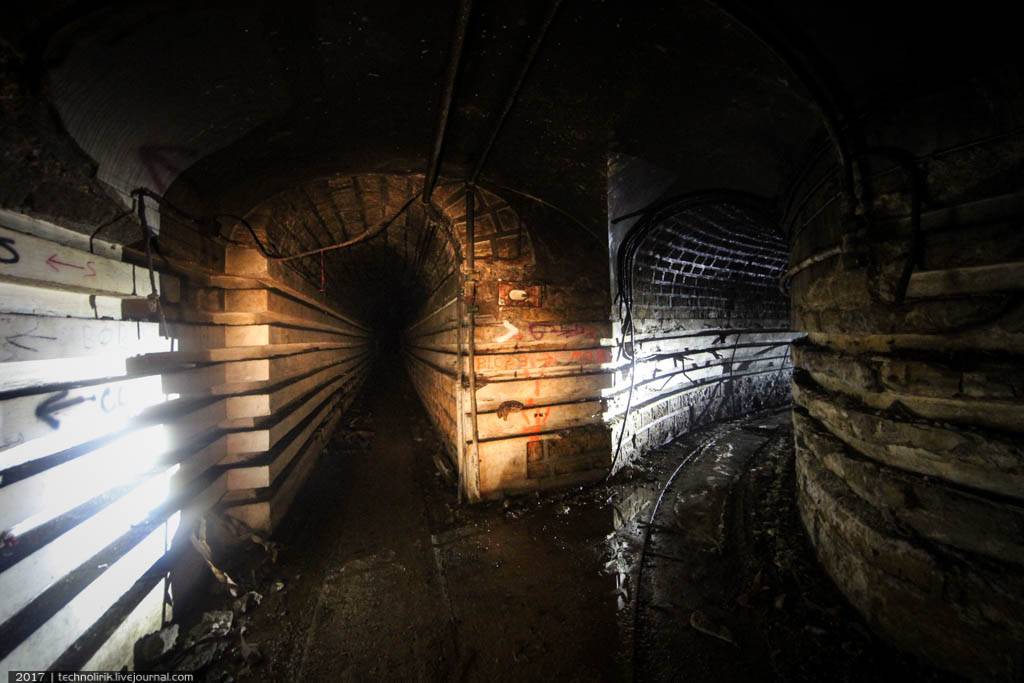
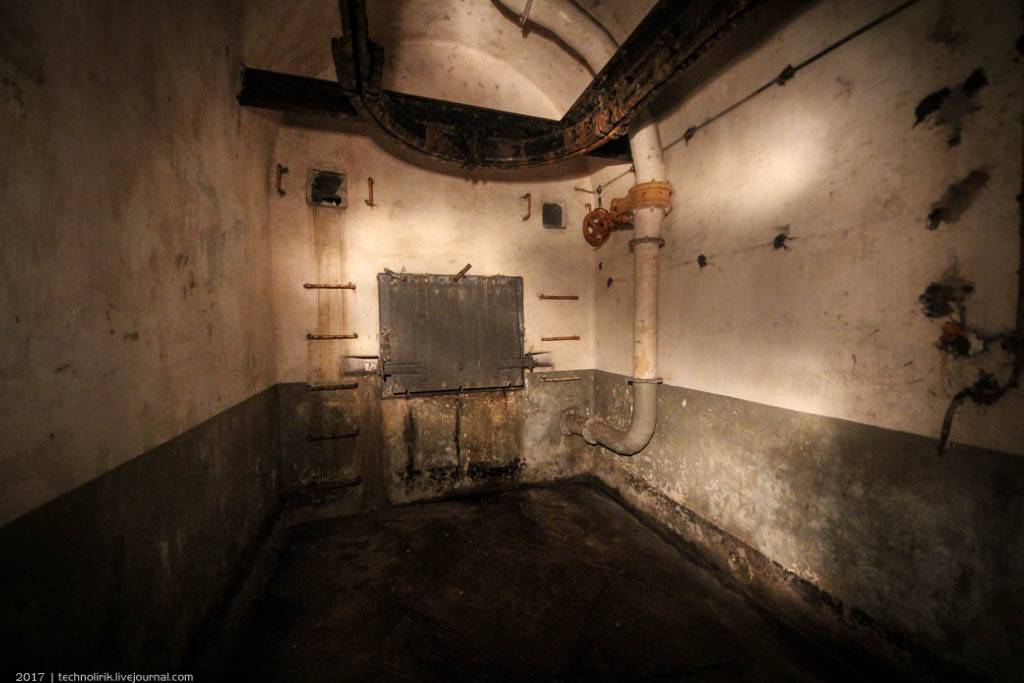
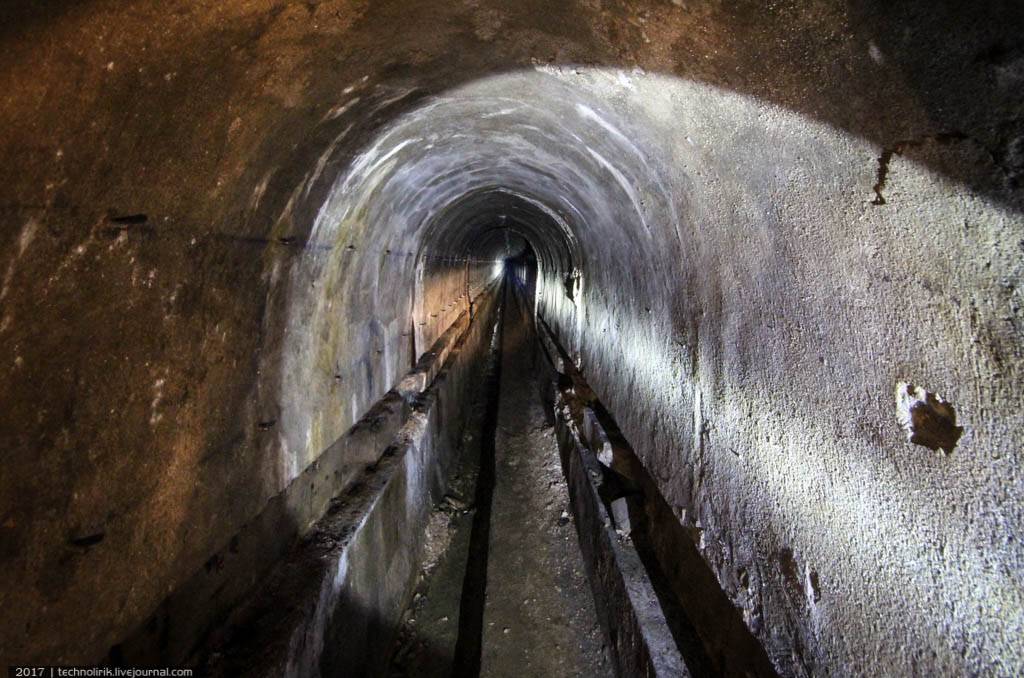
A little further away from the depot are an underground tunnel intended for water drainage (pictured) and an entrance block for ammunition.
At the end of the passageway are two elevators and a staircase. These lead to the top, where the entrance block is located.